Disclosure: This post contains affiliate links and I will be compensated if you make a purchase after clicking through my links. Learn More
Welding stainless steel at home is possible for beginners and hobbyists with the right tools and knowledge. Many people choose stainless steel for projects because it resists rust, has a bright finish, and is strong. Learning to weld stainless steel at home can help you repair kitchen items, make custom shelves, or build garden furniture.
This guide covers everything you need, from understanding the material to choosing welding methods, setting up safely, and finishing your work for the best results.
Why Weld Stainless Steel?
Stainless steel is popular for home and workshop projects because it does not rust easily, keeps its shine, and lasts a long time. People use it for sinks, kitchen tools, handrails, and outdoor furniture. When you weld stainless steel, you join pieces together to make strong and clean-looking joints.
Many home welders find this useful for repairs or creative builds.
Working with stainless steel at home can save money on repairs and give you the freedom to create custom shapes. It is also a good way to build your skills if you want to work with other metals in the future.
Understanding Stainless Steel
Before you start welding, you need to know about the types of stainless steel. This helps you choose the right welding method and settings.
Main Types Of Stainless Steel
1. Austenitic (e.g., 304, 316)
These are the most common types used in homes. They are easy to weld and resist corrosion.
2. Ferritic (e.g., 430)
These have less nickel and are often used for kitchen appliances. They are not as strong as austenitic but cost less.
3. Martensitic (e.g., 410, 420)
These are harder but can crack if you weld them wrong. They are used for knives and tools.
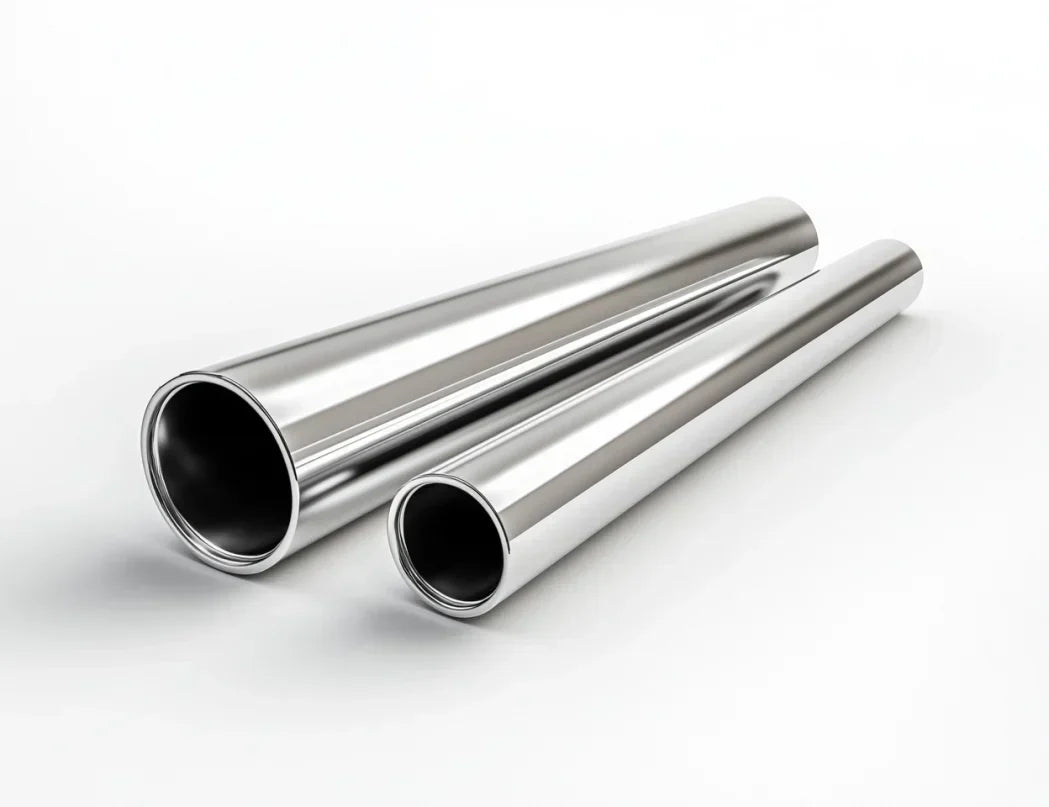
Most home projects use austenitic stainless steel, especially type 304. You can usually find the type stamped on the metal or ask the supplier.
Key Properties
- Melting point: About 1400°C (2552°F), higher than mild steel.
- Thermal expansion: Stainless steel expands more than regular steel when heated.
- Oxide layer: Stainless steel forms a protective oxide layer that helps prevent rust but can make welding harder if not cleaned.
Knowing these facts helps you plan your welding and avoid common problems like warping or cracking.
Credit: jytsteel.com
Tools And Equipment Needed
Welding stainless steel at home does not need professional machines, but you must choose the right equipment for safe and clean results.
Welding Machines
You can weld stainless steel with several types of machines:
| Method | Common Name | Best For | Notes |
|---|---|---|---|
| MIG | Metal Inert Gas | Beginners | Easiest to learn, fast for thin steel |
| TIG | Tungsten Inert Gas | Clean, thin welds | More control, but slower |
| Stick | Shielded Metal Arc | Outdoor, thick pieces | Simple machine, good for repairs |
Most home welders use MIG or TIG machines for stainless steel. TIG gives the cleanest results, but MIG is easier for beginners.
Safety Gear
Welding produces bright light, heat, and fumes. Always use:
- Auto-darkening helmet
Protects your eyes from light and sparks.
- Welding gloves
Thick gloves protect your hands from heat.
- Cotton or leather clothing
Synthetic fabric can melt and burn your skin.
- Safety boots
Closed-toe boots shield your feet from hot metal.
- Respirator mask or good ventilation
Stainless steel fumes can be harmful.
Never skip safety gear. Even short welds can cause burns or eye damage.
Other Essential Tools
- Angle grinder with flap disc or wire brush for cleaning
- Clamps to hold pieces steady
- Measuring tape and marker for accurate cuts
- Welding table or fireproof work surface
Good preparation and the right tools make the process smoother and safer.
Preparing The Stainless Steel
Welding stainless steel requires a clean surface. Dirt, oil, and rust make welding harder and can weaken the joint.
Cleaning Steps
1. Remove Grease And Oil
Wipe with acetone or alcohol. Do not use paint thinner.
2. Scrub The Surface
Use a stainless steel wire brush. Do not use a brush for regular steel, or you may add rust.
3. Grind Edges
Use an angle grinder to smooth and bevel edges, which helps the weld penetrate and hold.
Cleaning is important for strong welds. Even a small amount of oil or dirt can cause holes or weak spots.
Fitting And Clamping
Measure and mark where you want the weld. Fit pieces together tightly with no gaps. Use clamps to hold them steady. Gaps or loose joints can cause ugly or weak welds.
If you weld thin stainless steel, use copper backing bars under the joint. This helps take away heat and prevents burn-through.
Choosing The Right Welding Method
Your welding method affects the quality, speed, and look of your welds. Here are the main options for home welders.
Mig Welding Stainless Steel
MIG welding is the simplest method for beginners. It uses a wire that feeds automatically. The machine adds a shielding gas (usually argon with a bit of CO2 or helium) to protect the weld from air.
Advantages
- Easy to learn and set up
- Fast for long welds
- Good for thin to medium steel (up to 6 mm)
Disadvantages
- Not as clean as TIG
- Needs a gas bottle
- Spatter can happen
Tip: Use stainless steel wire (308L for 304 steel). Always check the wire matches the type of steel.
Tig Welding Stainless Steel
TIG welding gives clean, strong, and pretty welds. It uses a tungsten tip and a foot pedal for control. You feed a rod by hand and use pure argon gas for shielding.
Advantages
- Best-looking welds
- Precise control, even on thin steel
- Little or no spatter
Disadvantages
- Slower than MIG
- Harder to learn
- Needs two hands
Tip: Use a thoriated or ceriated tungsten tip, and stainless steel filler rod (308L or 316L).
Stick Welding Stainless Steel
Stick welding is simple and works outdoors, but not common for thin stainless steel. It uses special stainless rods (E308L, E309L, or E312).
Advantages
- Cheap machine
- Works in wind or outside
- Good for thick or rusty steel
Disadvantages
- Not for thin metal
- More spatter and cleanup
- Hard to make neat welds
Stick welding is good for repairs on thick steel but not recommended for fine home projects.
Method Comparison
Here is a quick look at how the three methods compare for home use:
| Method | Ease of Use | Weld Appearance | Best For |
|---|---|---|---|
| MIG | Easy | Fair | Thin/medium steel, beginners |
| TIG | Moderate | Excellent | Thin, visible joints |
| Stick | Easy | Poor | Thick, outdoor repairs |
Most home welders use MIG for speed or TIG for neatness.
Gas, Wire, And Filler Selection
Choosing the right gas and filler is important for strong, rust-resistant welds.
Shielding Gas
- MIG: 98% argon and 2% CO2 is common. Pure argon or argon/helium mixes also work.
- TIG: 100% argon is best.
- Stick: No gas bottle needed (the rod coating makes the gas).
Wrong gas can cause weak welds or rust.
Welding Wire And Rods
- MIG wire: Use 308L for 304 stainless, 316L for 316 stainless.
- TIG rod: Same as above.
- Stick rod: E308L, E309L, or E312, depending on the steel.
Always match your filler to your base metal. Mixing types can cause cracks or rust.
Wire Size
- Use 0.8 mm or 1.0 mm wire for most home projects.
- For very thin steel, use smaller wire and lower power.
Using the wrong size can make the weld too hot or cold, causing burn-through or weak joints.
Credit: weldguru.com
Welding Stainless Steel: Step-by-step Guide
Follow these steps for a basic home welding job. This example uses MIG welding, but the preparation steps are the same for TIG or Stick.
1. Prepare Your Workspace
Work in a clean, dry area with good airflow. Remove flammable items. Set up your welding machine, plug in the gas, and connect the ground clamp to your table or workpiece.
2. Clean And Clamp The Steel
Wipe the metal with acetone, brush with a stainless steel wire brush, and clamp the pieces together. Double-check your fit—tight joints weld best.
3. Set The Machine
- Select the right wire type and size.
- Set gas flow to 14–20 liters per minute (30–40 cubic feet per hour).
- Choose voltage and wire speed using a chart on your machine or in the manual (start lower for thin metal).
4. Put On Safety Gear
Wear your helmet, gloves, long sleeves, and closed boots. Make sure your workspace is safe.
5. Start Welding
Hold the gun at a 10–15 degree angle, with the tip 10–12 mm from the work. Squeeze the trigger and move slowly along the joint. Keep your hand steady and move at a constant speed.
For TIG, use two hands—one for the torch, one for the rod. Keep the tungsten 2–3 mm from the work, and add rod as you move.
6. Watch For Common Problems
- Burn-through: Lower the heat or speed up.
- Cracks: Check that you cleaned the metal and used the right filler.
- Porosity (holes): Make sure the gas is flowing and there is no wind.
7. Finish The Weld
Let the weld cool slowly. Do not cool with water—it can cause cracks. Use a brush or grinder to clean off any dark scale or spatter. Inspect your weld for holes or weak spots.
8. Test The Weld
If possible, tap the weld with a hammer or bend the joint slightly. A good weld should not crack or break.
Tips For Better Results
Welding stainless steel is different from regular steel. Here are some tips for a cleaner, stronger job:
1. Work In Short Bursts (stitch Welds) On Thin Steel
This helps stop warping from too much heat.
2. Let The Weld Cool Between Passes
Overheating makes stainless steel lose its shine and get brittle.
3. Back Purge With Argon For Perfect Seams
For visible or food-grade welds, add argon gas behind the weld to protect both sides.
4. Avoid Cross-contamination
Never use tools on stainless steel that you used on regular steel. Tiny particles can cause rust later.
5. Keep Gas Shielding Steady
Drafts or wind will ruin the weld. Block air movement or weld indoors.
6. Grind Gently
Stainless steel scratches easily. Use a fine flap disc and keep the grinder moving.
7. Practice On Scrap
Test your settings and technique on spare pieces before you start your real project.
Many beginners forget to keep their workspace clean or use the wrong gas. These small mistakes can lead to ugly, weak, or rusty welds.

Credit: www.etsy.com
Common Mistakes And How To Avoid Them
Even experienced welders can make errors. Here are some problems people often face:
Not Cleaning The Metal Properly
Dirt, oil, or rust make holes and weak spots in the weld. Always clean with acetone and a stainless steel brush.
Using The Wrong Filler Or Gas
Wrong wire or rod can cause cracks or rust. Double-check your filler matches your steel type, and use the right shielding gas.
Overheating
Too much heat causes warping, discoloration, and weak welds. Use lower settings for thin steel, and let the metal cool often.
Poor Fit-up
Gaps or loose joints make welding hard and the results weak. Use clamps and measure carefully.
Rushing The Job
Moving too fast or skipping steps leads to ugly or weak welds. Take your time, and test on scrap metal first.
Fixing these mistakes will make your welds stronger and your projects last longer.
Finishing And Cleaning The Weld
Once you finish welding, you need to clean and protect the weld for a good look and long life.
Removing Discoloration
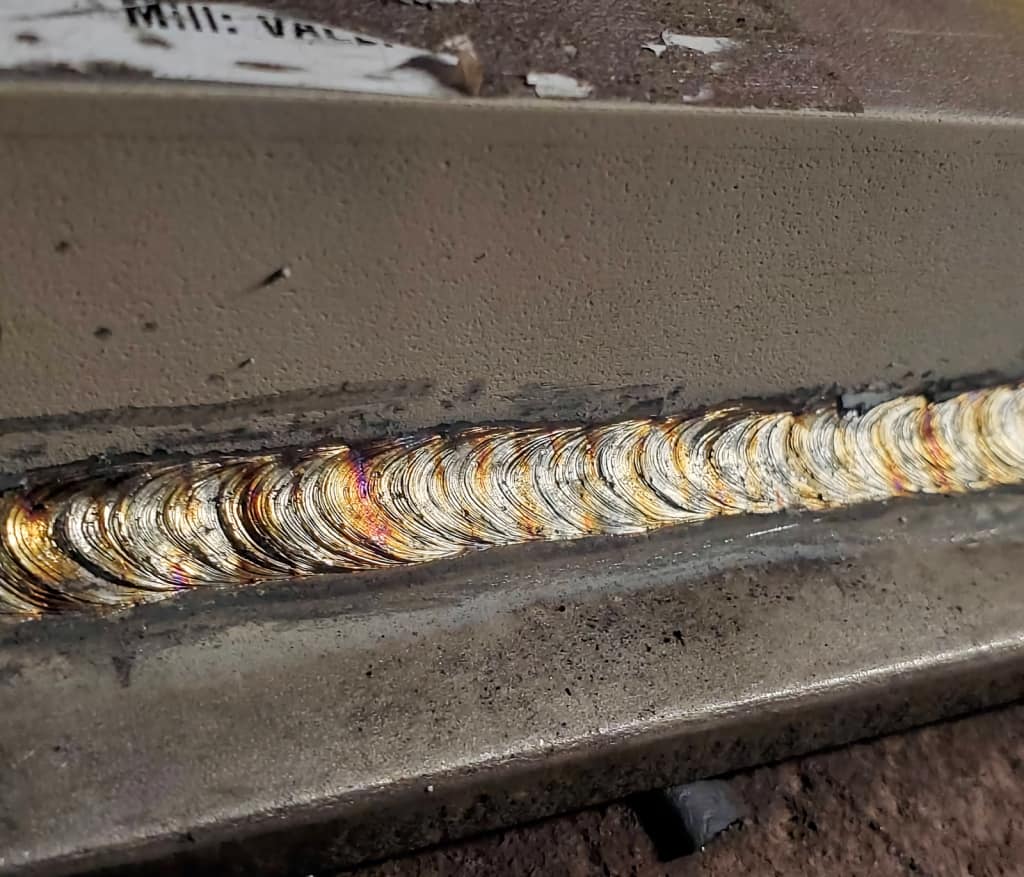
Welding can cause brown, blue, or black stains. Use a stainless steel wire brush, grinder, or special pickling paste. Always wear gloves and follow safety instructions when using chemicals.
Grinding And Polishing
For visible joints, use a fine flap disc or sanding pad. Move gently to avoid scratches. Polish with a buffing wheel and stainless steel polish for a shiny finish.
Passivation
For the best rust protection, you can treat the weld with a passivation solution. This rebuilds the oxide layer on the surface and stops rust. You can buy passivation kits online or at welding stores.
Many beginners skip passivation and notice rust after a few months. This step is important if your project will be outside or near water.
Safety Precautions
Welding stainless steel is safe if you follow basic rules:
- Always wear a helmet and gloves.
- Work in a well-ventilated area or use a respirator. Fumes from stainless steel can be harmful.
- Do not weld near flammable items.
- Keep a fire extinguisher nearby.
- Let metal cool before touching. Stainless steel holds heat longer than regular steel.
Welding safely means you can enjoy your hobby for years without injury.
Project Ideas For Home Welders
If you want to practice your skills, try these simple projects:
1. Stainless Steel Shelf Brackets
Make sturdy supports for kitchen or workshop shelves.
2. Custom Bbq Grill Grates
Stainless steel is perfect for food-safe surfaces.
3. Garden Trellis Or Plant Stand
Build strong, rust-resistant frames for outdoor use.
4. Repair Or Make Kitchen Racks
Fix broken dish racks or create custom sizes.
5. Outdoor Table Or Chair Frame
Stainless steel furniture lasts for years.
Start with small projects and simple joints. As you improve, try more complex shapes and visible welds.
Maintaining Your Welded Stainless Steel
Good maintenance keeps your projects looking new:
- Wash with soap and water
Avoid harsh cleaners that scratch the surface.
- Polish once a year
Use stainless steel polish for a bright finish.
- Inspect for rust
If you see rust, clean and passivate the spot right away.
Even stainless steel can rust if you scratch the surface or use the wrong tools. Regular care helps your work last.
Where To Learn More
Many welders share advice, videos, and guides online. Welding forums and YouTube have step-by-step videos. You can also check official resources like the Wikipedia page on welding stainless steel for more technical details.
Frequently Asked Questions
How Thick Can I Weld Stainless Steel At Home?
Most home machines can weld stainless steel up to 6 mm (1/4 inch) thick. For thicker pieces, you need more powerful machines and special techniques. Stick to thin or medium steel for best results.
Can I Weld Stainless Steel With A Regular Mig Welder?
Yes, but you need the right wire (308L or 316L) and a gas mix with mostly argon. Regular steel wire or CO2 gas will not work well and can cause rust.
Why Is My Stainless Steel Turning Brown Or Blue After Welding?
This is called “heat tint. ” It means the metal got too hot. Clean it with a wire brush, grinder, or pickling paste. For a better finish, use lower heat and let the metal cool often.
Do I Need To Back Purge Stainless Steel Welds?
Back purging with argon is only needed for high-quality, food-grade, or visible welds. It protects the back of the weld from rust. For most home projects, it is not required.
Is Welding Stainless Steel Dangerous?
Welding always carries risks. Stainless steel fumes are more dangerous than regular steel, so use good ventilation or a respirator. Always wear a helmet, gloves, and protective clothing.
—
Welding stainless steel at home is a valuable skill you can learn with patience and practice. The right tools, safety habits, and careful preparation make it possible to create strong, rust-free joints on a budget. Start with small projects, follow the tips in this guide, and you will soon see professional-looking results in your repairs and custom builds.