Disclosure: This post contains affiliate links and I will be compensated if you make a purchase after clicking through my links. Learn More
Welding body panels can look complicated, but many people use flux core welding to repair or replace car panels. This welding method works well for thin metals and does not need extra gas. With the right tools and knowledge, you can weld body panels at home or in a small workshop. This guide explains every step, gives practical tips, and points out common mistakes so you get strong, neat welds.
Why Use Flux Core For Body Panels?
Flux core welding (FCAW) uses a special wire with a flux center. When you weld, the flux creates a gas cloud that shields the weld from the air. This means you do not need separate shielding gas like in MIG welding. For car body panels, which are often thin and prone to warping, flux core welding has some key advantages:
- Portability: You can weld outside, even if it is windy.
- Simple setup: No need for a gas cylinder.
- Good penetration: Works well on rusty or painted steel.
- Lower cost: The machines and wire are usually cheaper than MIG or TIG setups.
Still, flux core welding can produce more spatter and smoke, and the welds may need more cleaning. Understanding these points helps you choose the right method and prepare for the process.
Essential Tools And Materials
Before you start, gather the right tools. Here is what you need to weld body panels with flux core:
- Flux core welder: A basic 120V machine is enough for most car panels.
- Flux core wire: Usually 0.030″ or 0.035″ diameter is best.
- Auto-darkening welding helmet: Protects your eyes and lets you see your work.
- Welding gloves and jacket: Prevents burns from sparks and spatter.
- Angle grinder: For cleaning metal and smoothing welds.
- Wire brush: Removes slag after welding.
- Clamps or magnets: Holds panels in place during welding.
- Hammer and dolly set: For shaping panels before and after welding.
- Welding pliers: Helps cut wire and remove spatter.
- Measuring tape and marker: For accurate cuts and layout.
- Sheet metal: Replacement panel or patch.
- Welding blanket: Protects nearby parts from sparks.
- Safety glasses and ear protection: For grinding and cutting.
Always check your tools before you start. A missing or broken tool can slow down your work or create safety problems.

Credit: www.youtube.com
Preparing Body Panels For Welding
Preparation is the most important part of welding body panels. Good prep helps you make strong, neat welds and reduces the risk of warping the thin metal.
Clean The Area
Rust, paint, and oil stop the weld from sticking to the metal. Use an angle grinder or a wire wheel to remove all coatings from the area where you will weld. Clean at least one inch around the seam. Use a degreaser to remove oil or wax.
Fit And Align The Panels
Fit the replacement panel or patch as close as possible to the original shape. Use clamps or magnets to hold the panels in place. If the fit is not tight, gaps will form, and the weld may not be strong.
For butt welds, aim for a gap of 1/16 inch or less.
Mark The Weld Area
Use a marker to outline the area you will weld. Marking helps you avoid welding in the wrong place or missing spots.
Test Fit Everything
Before welding, check your fit one last time. Make sure doors, hoods, or trunk lids close properly if you are replacing a large panel.
Setting Up Your Flux Core Welder
Correct setup is important for welding thin body panels. Flux core welders have settings for wire speed and voltage. Use these tips to get the best results:
- Use 0.030″ or 0.035″ wire for auto body steel (usually 18-22 gauge).
- Start with a low voltage and wire speed.
- Test the settings on scrap metal with the same thickness as your panels.
- Adjust until you get a stable arc and good bead shape.
Check your polarity. For flux core, set the welder to DC Electrode Negative (FCAW). This setting is different from MIG welding, which uses DC Electrode Positive. Using the wrong polarity causes poor welds and more spatter.
Keep your ground clamp close to the weld. A bad ground can cause arc problems.
Safety Tips For Welding Body Panels
Welding creates heat, sparks, and fumes. Follow these safety steps every time you weld:
- Wear a full-face welding helmet with the right shade.
- Use leather welding gloves and a long-sleeve jacket.
- Cover nearby parts with a welding blanket.
- Work in a well-ventilated area to avoid breathing fumes.
- Keep a fire extinguisher close.
- Do not weld near fuel lines, tanks, or batteries.
Check for hidden wires, insulation, or flammable materials behind the panel before you start. Disconnect the car battery and move it away if possible.
How To Weld Body Panels Using Flux Core: Step-by-step
Welding thin sheet metal takes patience and the right technique. Here is a clear step-by-step guide for welding car panels with a flux core welder.
1. Tack Weld The Panel
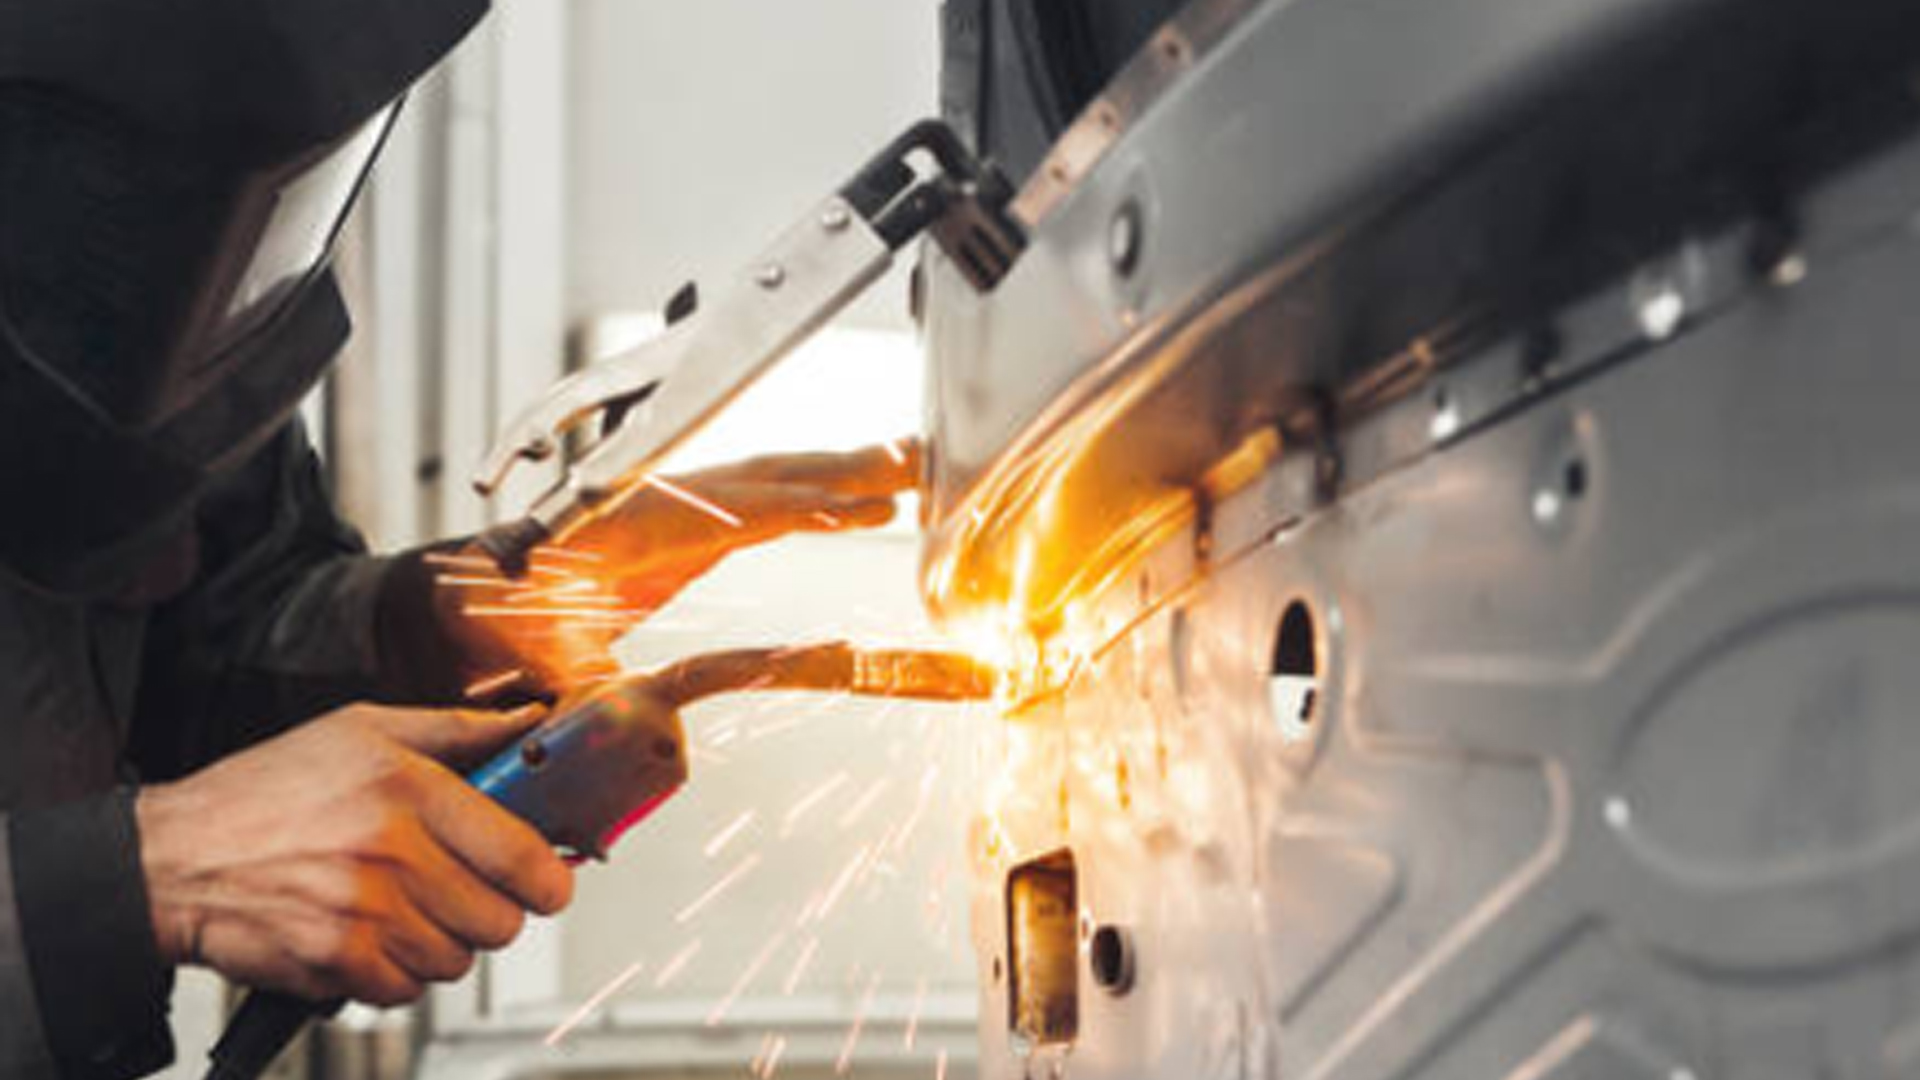
Start by placing tack welds every 1-2 inches along the seam. Tack welds hold the panel in position and stop it from moving as you work. Do not try to weld the seam in one long pass—this will overheat the metal and cause warping.
- Hold the gun at a 15-20 degree angle.
- Use short bursts (less than a second).
- Let the metal cool for a few seconds between tacks.
2. Stitch Weld The Seam
Once the panel is tacked, fill in the seam with a series of short welds called stitch welds.
- Weld 1/2 to 1 inch at a time.
- Move to a spot several inches away for the next weld.
- Keep rotating around the seam to spread the heat.
This method controls heat and keeps the panel flat. If you see the metal start to warp, slow down and let it cool.
3. Cool And Clean The Welds
After every few stitches, use compressed air or a damp cloth to cool the area. This step stops heat buildup. When finished, use a wire brush or chipping hammer to remove the slag from the weld. Clean welds are easier to inspect and grind.
4. Grind And Smooth The Weld
Use an angle grinder with a flap disc or grinding wheel to smooth the weld bead. Be careful not to grind too much metal away. The goal is to make the seam flush with the surrounding panel without thinning the metal.
- Work slowly and check your progress.
- Use a sanding disc for a finer finish.
5. Inspect And Finish
Check the back side of the panel for full penetration. A good weld should show a slight bead on the back. Fill any pinholes or gaps with more tacks. When satisfied, wipe the area clean and apply a coat of primer to stop rust.
Best Welding Techniques For Thin Sheet Metal
Welding thin car panels is different from welding thick steel. These techniques help avoid common problems like burn-through and warping:
Short, Controlled Welds
Always use short bursts or tacks. Long welds overheat the metal and cause it to buckle.
Skip Welding
Do not weld in a straight line from start to finish. Instead, skip around the seam. This method spreads the heat and keeps the panel flat.
Backing Bars
If possible, use a copper backing bar behind the seam. Copper soaks up heat and stops the weld from burning through. You can use a thick piece of copper or buy a special welding bar.
Wire Movement
Move the wire in small circles or a C-shape. This technique helps tie the two pieces of metal together and makes a stronger weld.
Cleaning As You Go
Welds made with flux core wire have slag on top. Remove this slag after every pass with a wire brush. Clean welds are stronger and look better.
Common Mistakes And How To Avoid Them
Many beginners make the same errors when welding body panels. Here are the most common mistakes and how to fix them:
- Welding too long in one spot: This overheats the metal and causes warping. Use short bursts.
- Poor fit-up: Gaps between panels lead to weak welds and burn-through. Take time to fit the panels tightly.
- Wrong settings: Too much voltage or wire speed makes holes. Too little causes weak welds. Always test on scrap first.
- Not cleaning metal: Paint, rust, or oil stops the weld from sticking. Clean both sides of the seam before you start.
- Skipping safety steps: Burns and eye injuries are common. Wear proper gear and keep flammable items away.
- Ignoring slag: Slag on the weld can hide problems. Always clean it off to check your work.
Flux Core Welding Vs. Mig Welding For Body Panels
Many people ask if MIG welding is better than flux core for car panels. Each method has strengths and weaknesses. Here is a quick comparison:
| Feature | Flux Core Welding | MIG Welding |
|---|---|---|
| Shielding Gas Needed | No | Yes |
| Portability | High | Low |
| Spatter | More | Less |
| Weld Appearance | Rougher | Smoother |
| Wind Sensitivity | Low | High |
| Cost | Lower | Higher |
Flux core welding is better for outdoor work, repairs, and beginners who want a simple setup. MIG welding gives cleaner, smoother welds but needs a gas bottle and more setup.
Best Practices For Strong, Neat Welds
To get professional results on car body panels, follow these best practices:
- Plan your work: Know where you will weld and in what order.
- Use enough clamps: Loose panels move during welding. Use clamps, magnets, or screws to hold everything tight.
- Work in good light: Good lighting helps you see gaps and defects.
- Check panel alignment often: Welds shrink as they cool, pulling panels out of place if you are not careful.
- Practice on scrap: Use leftover sheet metal to dial in your settings and practice your stitch welds.
Tools Comparison: Essential Gear For Beginners
Choosing the right tools makes a big difference. Here is a simple comparison of common tools for welding car panels:
| Tool | Purpose | Recommended for Beginners? |
|---|---|---|
| Angle Grinder | Cleaning and smoothing metal | Yes |
| Copper Backing Bar | Prevents burn-through | Yes |
| Welding Blanket | Protects from sparks | Yes |
| Auto-Darkening Helmet | Eye protection | Yes |
| MIG Welder | Cleaner welds | No (more complex) |
| Flux Core Welder | Simple, portable | Yes |
A basic setup does not need expensive tools. Focus on the essentials and add more as your skills improve.
How To Avoid Warping And Burn-through
Warping and burn-through are the biggest problems when welding thin sheet metal. Here is how to avoid them:
- Short welds only: Never run a continuous bead.
- Let metal cool: Pause between welds or use compressed air.
- Use a copper backing bar: It absorbs heat and supports the weld.
- Perfect your fit-up: Gaps make burn-through more likely.
- Practice wire control: Keep the arc on the seam, not on one panel.
If you see the metal start to warp, stop and cool the area. Fixing warping after welding is much harder.
Finishing The Welded Panel
Once you finish welding, you need to make the repair area smooth and ready for paint. Here are the main steps:
Grinding
Use an angle grinder to level the welds. Work slowly to avoid heating the panel too much. A flap disc gives a smoother finish than a grinding wheel.
Filling
Small pinholes or slight low spots can be filled with a thin layer of body filler. Spread it thin and sand smooth after it dries.
Sanding
Sand the whole area with 80-120 grit sandpaper until smooth. Then use finer sandpaper for a better finish.
Priming
Apply a coat of etching primer to protect the bare metal from rust. Make sure the panel is clean and dry before painting.
Real-world Examples And Tips
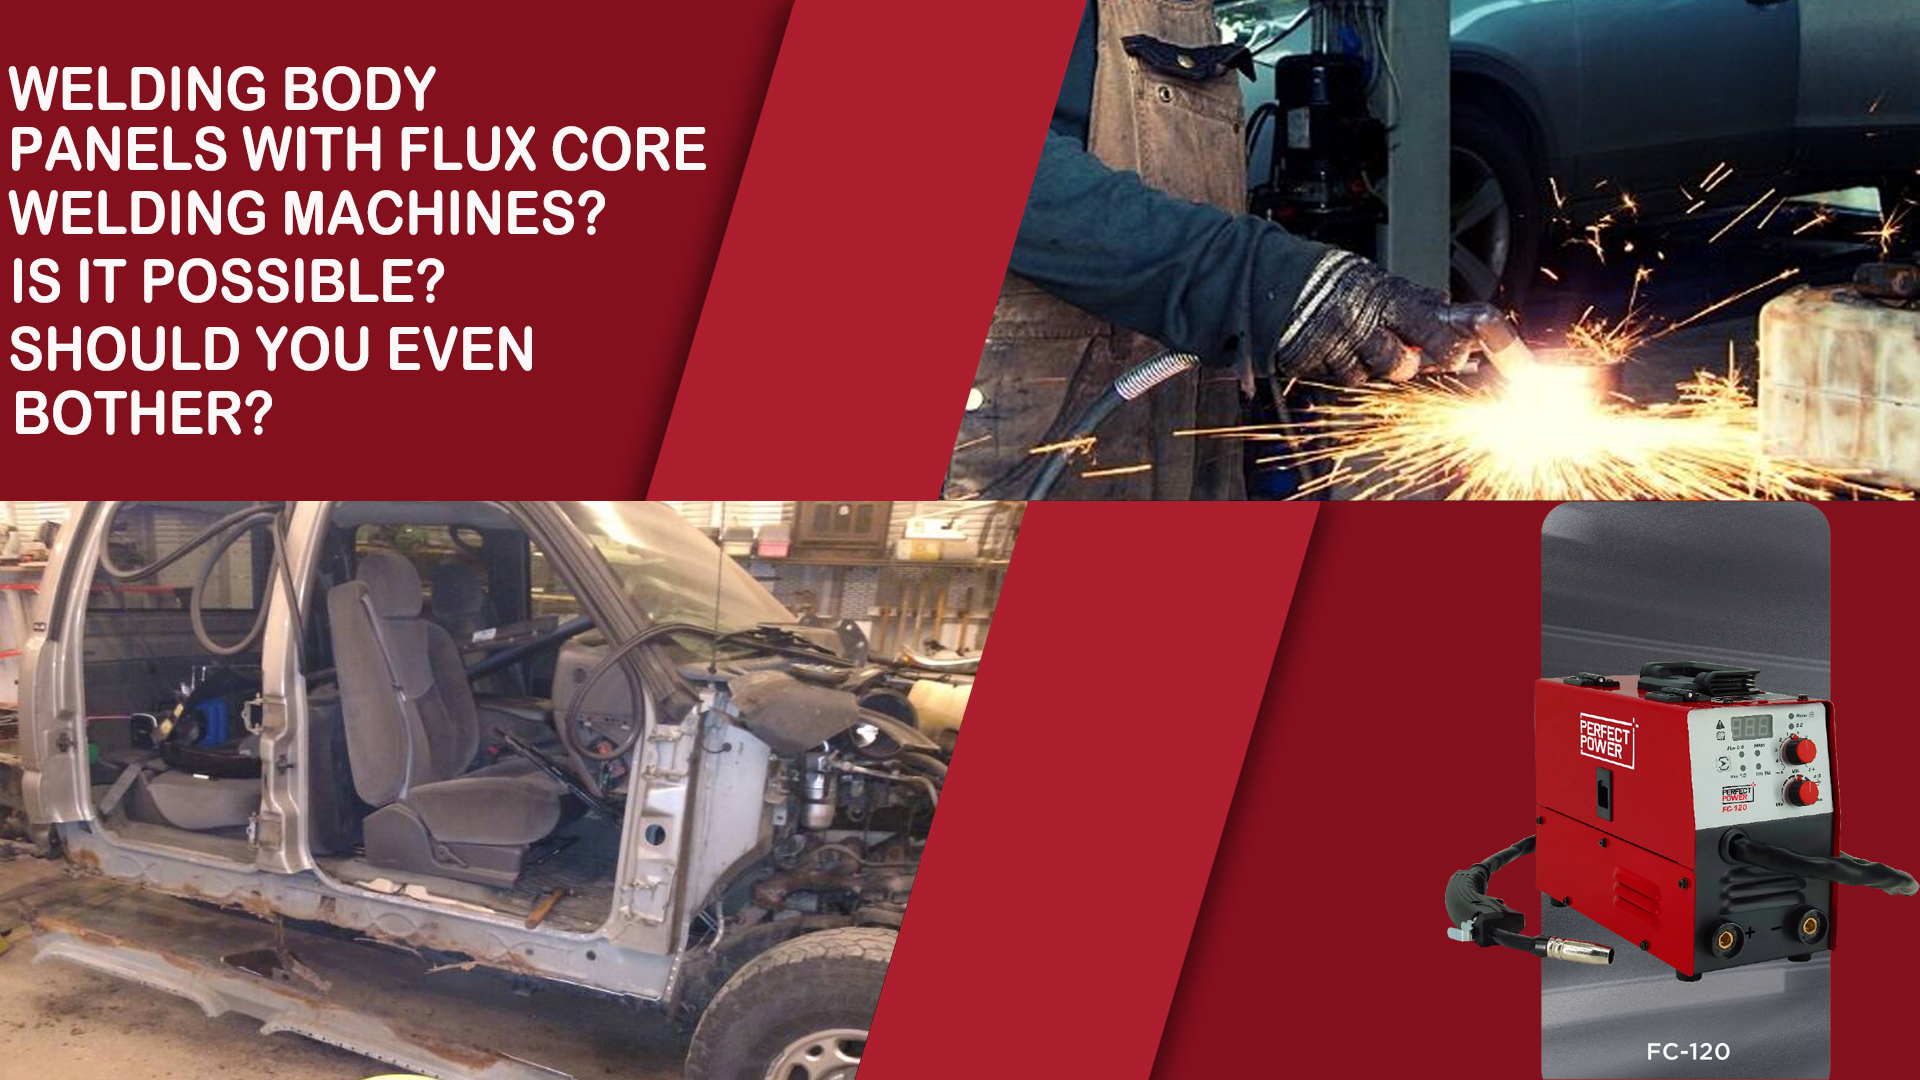
Many hobbyists and pros use flux core welders for auto body work. For example, a popular project is replacing a rusted rocker panel. The process includes cutting out the old panel, cleaning the metal, fitting the new panel, and welding it in place using tacks and stitches.
One common beginner mistake is trying to weld the whole seam at once, which causes the panel to warp. By following the short-weld method and letting the panel cool, you get a much flatter, stronger repair.
A non-obvious tip: Use a copper spoon (a wide, flat copper bar) behind the seam when working in tight spaces. This tool is especially helpful for patching small holes, as it gives support and reduces burn-through.
Another insight: Cheap welding wire often causes more spatter and unstable arcs. Spend a little more on good-quality wire from known brands for better results.
Credit: www.perfectwelders.com
Cost And Time: What To Expect
Welding body panels with flux core is affordable compared to other methods. Here is a basic breakdown of costs:
- Flux core welder: $150–$400 for a beginner model
- Wire (2 lbs spool): $15–$30
- Helmet and gloves: $50–$100
- Angle grinder: $30–$70
A simple patch can take 1–2 hours from prep to finish, while a full panel replacement may take most of a day. Most of the time goes into preparing and fitting the panels, not the welding itself.
Practical Advice For First-time Welders
If this is your first time welding body panels, start with small patches on hidden areas. This lets you practice without pressure. Watch online videos for technique, and compare your results to pictures of good welds. Keep a notebook with your machine settings and notes about what works and what does not.
Do not get frustrated by early mistakes. Even professionals make small errors and fix them as they go.
Environmental Considerations
Flux core welding creates more smoke and fumes than MIG welding. Always work in a well-ventilated space. If possible, set up a fan to pull fumes away from your face. Wear a disposable mask under your helmet for extra protection.
Dispose of used wire, slag, and grinding dust safely. Keep your workspace clean to avoid slipping or starting fires.
When To Call A Professional
While many people can weld patches and small panels at home, some jobs are better left to a professional:
- Large or structural panels
- Panels near complex curves or tight spaces
- Repairs on classic or high-value cars
A professional shop has better tools for shaping, aligning, and finishing panels. For most simple jobs, though, you can get good results with practice and patience.
Credit: www.perfectwelders.com
Learning Resources
If you want to learn more, many community colleges and technical schools offer short courses in auto body repair and welding. Online forums and YouTube channels give step-by-step videos. The American Welding Society is a trusted source for standards and safety tips. For more technical information, check Wikipedia: Flux-Cored Arc Welding.
Frequently Asked Questions
What Is The Best Wire Size For Welding Car Body Panels With Flux Core?
For most car body panels (18-22 gauge steel), use 0.030″ flux core wire. It gives enough penetration without too much heat, which helps prevent burn-through.
Can I Weld Through Paint Or Rust With Flux Core?
It is possible, but not recommended. Always clean the metal down to bare steel before welding. Paint, rust, and oil weaken the weld and create excess spatter.
Why Does My Weld Look Rough Or Have Holes?
Rough welds or holes often mean the voltage or wire speed is wrong, the metal is dirty, or you are holding the gun too far away. Adjust your settings and clean the area well before welding.
How Do I Avoid Warping Thin Panels When Welding?
Use short tacks or stitches, move around the seam, and let the panel cool between welds. A copper backing bar helps absorb heat and prevent warping.
Is Flux Core Welding Strong Enough For Structural Repairs?
Flux core welds are strong, but for critical or structural repairs, follow factory recommendations. Some repairs require special welds or reinforcements, so check guidelines before starting.
Welding body panels using flux core is a practical skill for car owners and hobbyists. With careful prep, the right tools, and patience, you can make strong, clean repairs at home. Always put safety first, and do not rush the process.
Each project you finish builds your skill and confidence for the next one.