Disclosure: This post contains affiliate links and I will be compensated if you make a purchase after clicking through my links. Learn More
To change the wire spool on a MIG welder, unplug the machine, cut the old wire at the drive rolls, swap the spool on the hub, and thread the new wire through the inlet guide, over the drive rolls and into the liner. Then remove the contact tip, feed the wire out to the gun, and refit the tip and nozzle.
The whole job takes about 10 minutes. The steps that cause trouble later are the small ones: holding the wire end so the spool doesn’t unravel, setting the hub brake, and matching the drive roll, tip and polarity to the new wire. This guide covers all of them for any wire-feed MIG welding machine.
| Time | Difficulty | Tools needed |
|---|---|---|
| About 10 minutes | Easy | Welding pliers or side cutters, gloves, new contact tip in the new wire size |
What You’ll Need
- New spool of wire (check the spool size fits your machine: 2 lb spools are about 4 inches across, 10 to 12 lb spools are about 8 inches)
- Spool adapter, if your welder takes both sizes
- Welding pliers or side cutters
- Contact tip that matches the new wire diameter (.023, .030, .035 or .045)
- Drive roll with the right groove, if you’re changing wire type or size
- Work gloves
- Your welder’s manual, for the hub and tension settings on your model
How to Change the Wire Spool on a MIG Welder: Step by Step
Here’s how to change the wire spool on a MIG welder in 10 steps. Each step is the same on most hobby machines from Hobart, Lincoln Electric, Miller, Everlast and YesWelder; only the knob and latch shapes differ.
Step 1: Turn Off and Unplug the Welder
Switch the welder off and pull the plug. The wire is electrically live whenever the trigger is pulled, and you’ll have your hands near the drive rolls.
Step 2: Open the Wire Compartment and Release the Drive Roll Arm
Open the side door. Flip up the tension arm (idler arm) on the drive roll so the old wire is free.
Step 3: Cut the Old Wire and Remove It
Cut the old wire near the inlet guide, then pull the short piece out of the liner from the gun end or the feeder end. If you plan to use the old spool again, bend the loose end and tuck it through one of the holes in the spool rim so it can’t unwind.
Step 4: Remove the Old Spool
Unscrew the retaining nut or knob on the spool hub and slide the spool off. Watch for the spring and washer behind the nut. If that spring goes missing, the hub brake won’t hold.
Step 5: Mount the New Spool
Slide the new spool onto the hub so the wire comes off the bottom of the spool toward the drive rolls (most machines; check the arrow inside the door). Line up the drive pin with the hole in the spool, then refit the spring and nut.

Credit: unimig.directus.app
Step 6: Set the Spool Hub Brake
Tighten the hub nut just enough that the spool stops when you release the trigger and doesn’t keep spinning. UNIMIG’s setup guide gives the same test: tight enough that the spool won’t free spin, but not so tight it fights the drive rolls.
Step 7: Straighten and Trim the Wire End
Hold the wire end firmly the whole time. If you let go, the spool unwinds into a loose coil. Cut off the bent tip, then straighten the first 6 to 12 inches by hand (Yaskawa Motoman’s loading guide uses the same range). Cut the end at an angle and file off any burr so it slides through the liner.
Step 8: Thread the Wire Through the Drive Rolls
Push the wire through the inlet guide, along the groove of the drive roll and 1 to 2 inches into the gun liner. Check that the wire sits in the groove for your wire size; most rolls are reversible with 2 sizes stamped on the side.
Close the tension arm and set the drive roll tension. Only now can you let go of the wire, since the rolls hold it.
Step 9: Remove the Contact Tip and Feed the Wire
Take off the nozzle and unscrew the contact tip. Lay the gun cable as straight as you can, plug the welder in, turn it on, and pull the trigger (or press the jog/inch button) until the wire comes out of the gun.
Removing the tip lets the wire pass the diffuser cleanly instead of jamming against the tip bore.
Step 10: Refit the Tip and Nozzle and Test
Slide the correct-size contact tip over the wire and screw it on, then refit the nozzle. Trim the wire to about 3/8 inch of wire stickout and run a short test bead on scrap.
If You’re Switching Wire Type or Size
A new spool of the same wire needs nothing else. A different wire changes 4 things. Use this checklist before you strike an arc.
| Part | Solid wire (with gas) | Self-shielded flux core | Aluminum |
|---|---|---|---|
| Drive roll groove | V-groove | Knurled | U-groove (or a spool gun) |
| Contact tip | Same size as the wire | Same size as the wire | Often one size up |
| Polarity | DCEP (electrode positive) | DCEN (electrode negative) on most wires | DCEP |
| Shielding gas | Yes (C25 or CO2 for steel) | No | Yes (100% argon) |
Flux core and solid wire need different polarity, so swap the gun and ground leads on the polarity block inside the door.
Soft aluminum wire buckles in a long liner. For aluminum, most home welders use a spool gun instead of pushing it through the main gun.
How to Set Drive Roll Tension After a Spool Change
Set drive roll tension just past the point where the wire stops slipping. Too loose and the rolls slip; too tight and they flatten the wire, which then drags in the liner.
- Hold the gun about 2 to 3 inches from a block of wood or an insulated surface.
- Pull the trigger so the wire runs into the block.
- If the rolls slip on the wire, add tension a little at a time.
- Stop when the wire buckles and keeps feeding with no slipping at the rolls.
- Check your manual, since many machines print a starting number on the tension knob for each wire type.
If the feed still stops and starts after a spool change, work through the checks for inconsistent wire feed.
Common Mistakes to Avoid
- Letting go of the wire end. The spool springs open and the wire tangles. Keep a hand on it until the drive roll arm is closed.
- Mounting the spool backward. The wire should come off the side the arrow shows, usually the bottom.
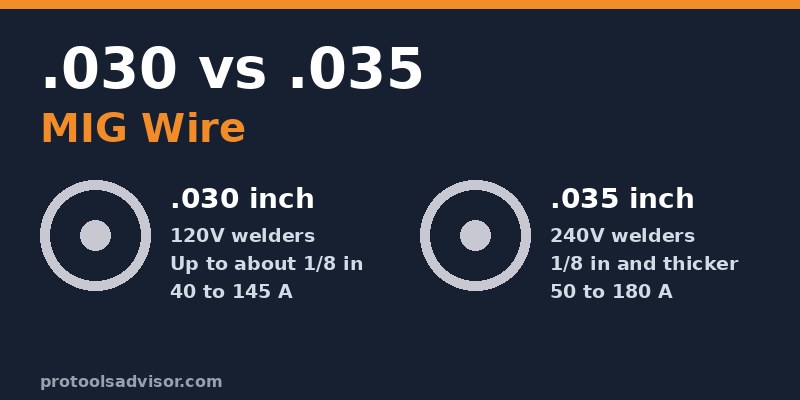
- Leaving the old tip on. A .030 tip on new .035 wire jams at once, and a .035 tip on .030 wire gives a wandering arc.
- Over-tightening the hub. A tight brake makes the rolls slip and can cause burnback at the tip.
- Forgetting polarity. Flux core run on DCEP spatters heavily and burns poorly.
- Kinking the gun cable. Feeding the wire through a coiled or bent cable can scrape the liner and snag the wire.
Safety Tips
Unplug the welder before you open the door or touch the drive rolls. Keep fingers clear of the rolls when you jog wire, and never point the gun at your face or hand when you feed wire, since the wire end is sharp and comes out fast. Wear gloves when you handle the cut wire.
FAQs
Do You Have to Remove the Contact Tip to Feed New Wire?
It’s best to. With the tip off, the wire passes the gas diffuser freely and won’t jam on the edge of the tip bore. Feed the wire about 2 inches past the diffuser, slide the tip over it, screw it on, then refit the nozzle and trim the wire.
Which Way Does the Wire Spool Go on a MIG Welder?
On most MIG welders the wire comes off the bottom of the spool and runs straight into the inlet guide. Many machines print an arrow or a diagram inside the side door. If the wire has to bend sharply to reach the drive rolls, flip the spool over.
Can You Put a 10 lb Spool on a Welder Made for 2 lb Spools?
Only if the machine has room and a hub for it. Many 120V welders take both 4-inch (2 lb) and 8-inch (10 to 12 lb) spools with an adapter. Check your manual or the spool compartment first, since some small machines fit 2 lb spools only.
How Tight Should the Spool Tension Be?
Set the spool hub just tight enough that the spool stops when you release the trigger. If the spool keeps spinning and throws loops of wire, tighten it a little. If the drive rolls slip or the wire feeds slowly, loosen it. Most hobby welders need only a small turn.
Why Won’t the New Wire Feed After I Changed the Spool?
Most no-feed problems after a spool change come from the wire sitting outside the roll groove, the tension arm left open, the wrong groove size, or a bent wire end catching in the liner. Unplug the welder, open the arm, re-trim the wire and thread it again.
Final Words
Changing the wire spool on a MIG welder is a 10-minute job once you’ve done it once. Hold the wire end, mount the spool so it feeds off the bottom, set the hub brake, and take the tip off before you feed.
If you’re changing wire type, run the 4-point checklist every time: drive roll, contact tip, polarity and gas. That one habit prevents most of the feed and arc problems people blame on a new spool.