Disclosure: This post contains affiliate links and I will be compensated if you make a purchase after clicking through my links. Learn More
TIG welding outside corners can look clean and sharp, but only if you follow the right steps. Many welders struggle to get smooth, even beads on these joints. Small mistakes often lead to burn-through, warping, or messy edges that are hard to fix.
This guide will give you a clear path to perfect TIG welds on outside corners, covering each stage from setup to finishing. Whether you are learning TIG for the first time or want to improve your technique, you will find practical advice, detailed steps, and tips that make a real difference.
What Makes Tig Welding Outside Corners Difficult?
Welding outside corners is harder than flat joints. The metal edges are thin and easy to burn. The shape of the joint means the heat builds up fast, and the weld pool can fall away if you use too much filler or angle your torch wrong.
Even experienced welders often struggle with undercut (a groove at the edge) or excess weld metal spilling over. Clean outside corners need precise control and good planning.
Two common mistakes are using too much heat and moving too slowly. Both can ruin the edge and create a weak joint. You also need to keep your weld bead small and neat, so the corner looks sharp when finished.
Many new TIG welders miss these details and end up grinding away most of their bead, which weakens the weld.
Tools And Equipment You Need
To get clean outside corners, you must start with the right tools. TIG welding is all about control, so use quality gear and keep everything in good condition.
- TIG Welder – Use an inverter machine for better arc control. AC/DC machines help if you weld both steel and aluminum.
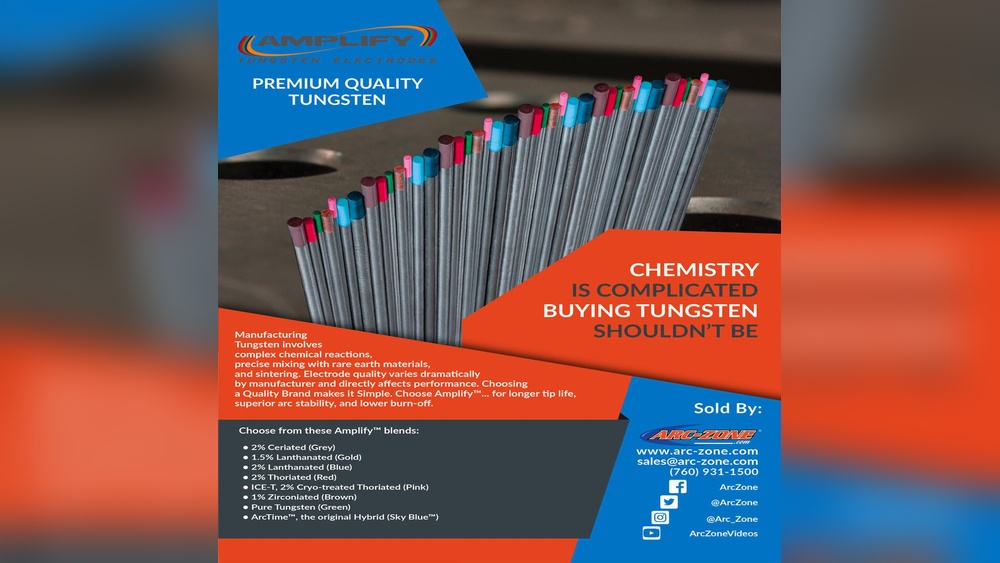
- Tungsten Electrodes – 2% lanthanated or thoriated work well for steel. Use pure tungsten for aluminum.
- Filler Rods – Match the rod to your base metal. ER70S-2 for steel, ER4043 or ER5356 for aluminum.
- Shielding Gas – Use 100% argon for most jobs. Keep your flow between 10-20 CFH.
- Torch – A small, flexible head helps you work around corners.
- Protective Gear – Auto-darkening helmet, gloves, flame-resistant jacket, and safety glasses.
- Clamps and Magnets – Hold your pieces in place. Even small movement ruins the joint.
- Wire Brush and Acetone – Clean your metal before welding. A dirty surface causes porosity.
Keep your tools clean and check them before each job. A dirty tungsten or clogged gas line causes bad welds even if your technique is perfect.
Credit: jlccnc.com
Preparing The Metal For Welding
Good welds start long before you strike an arc. Preparation is often the difference between a strong, clean weld and a weak, messy one. Follow these steps every time:
- Fit-Up: Line up the two pieces so the outside edges meet at a 90° angle. Use clamps or magnets. Gaps should be as small as possible (ideally less than 0.5 mm or 1/64 inch).
- Cleaning: Remove paint, rust, oil, and dirt. Use a wire brush or flap disc. For aluminum, always use a stainless steel brush.
- Edge Quality: Make sure the edges are straight and square. Grind rough spots smooth. Jagged edges make it hard to get a tight bead.
- Degreasing: Wipe the edges with acetone or alcohol. Even fingerprints can cause porosity.
- Tack Welds: Place small tack welds at each end and in the middle. This holds the metal firmly, so it doesn’t move or warp from heat.
If you skip these steps, you will fight against problems while welding. Good prep saves time and prevents frustration later.
Choosing The Right Tig Settings
TIG welding lets you control almost every detail, but wrong settings make the job harder. Here’s how to set up for outside corners:
Amperage
The right amperage depends on the metal thickness. For mild steel or stainless steel:
- 1 mm (0.040 inch): 25-35 amps
- 2 mm (0.080 inch): 45-60 amps
- 3 mm (0.120 inch): 65-90 amps
For aluminum, start about 10% higher because it conducts heat away quickly.
Electrode Size
Use a 1. 6 mm (1/16 inch) tungsten for thin metal. For thicker parts (over 3 mm), you can use 2. 4 mm (3/32 inch).
Shielding Gas Flow
Set your argon flow between 10-20 CFH (cubic feet per hour). Too much flow causes turbulence; too little causes contamination.
Ac Or Dc
- Use DCEN (Direct Current Electrode Negative) for steel and stainless.
- Use AC for aluminum and magnesium.
Filler Rod Size
Use the smallest rod that fills the joint. For 1-2 mm thick metal, a 1. 0-1. 6 mm (0. 040-0. 062 inch) rod works well.
Pulse Settings
If your machine has pulse, set a low background current (around 30%) and a pulse frequency of 1-2 Hz. This helps control heat.
| Parameter | Steel (1-3mm) | Aluminum (1-3mm) |
|---|---|---|
| Amperage | 25-90A | 35-100A |
| Tungsten Size | 1.6-2.4mm | 1.6-2.4mm |
| Shielding Gas | 100% Argon | 100% Argon |
| Polarity | DCEN | AC |
| Filler Rod | ER70S-2 | ER4043/ER5356 |
Setting Up The Outside Corner Joint
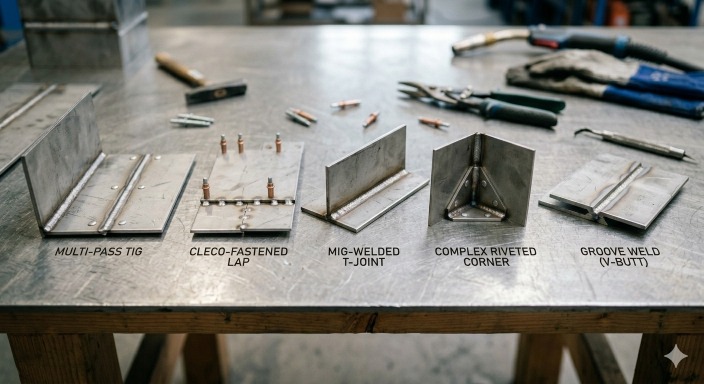
Outside corners join two pieces at their outside edges, forming a 90° angle. The key to success is getting a tight, even fit-up and supporting the joint well.
- Align the Edges: Use a flat surface and clamps to hold both pieces. Check with a square to keep the angle at 90°.
- Gap Control: Keep the gap as small as possible. If there’s a gap, fill it with a tack weld first.
- Tack Weld Placement: Put tacks at both ends and one or two in the center for longer joints. Make the tacks small and flat.
- Support: If the pieces are thin, put a copper backing bar underneath. Copper absorbs heat and stops the weld pool from falling away.
A good setup prevents the joint from pulling out of alignment as you weld. If you skip this step, your corner will twist or shrink, and the weld will look uneven.
Tig Welding Technique For Clean Outside Corners
This is where control matters most. Outside corners are less forgiving, but a steady hand and the right method give you excellent results.
Torch Angle
Hold the torch at 15-20° from vertical, pointing slightly into the joint. Keep the tungsten close, about 2-3 mm from the work. A steep angle helps focus the heat on the edge.
Travel Speed
Move at a steady pace. Too slow burns through; too fast leaves gaps. Watch the weld pool—it should be small and tight, not wide or sagging.
Filler Rod Feeding
Feed the rod smoothly into the front edge of the pool. Don’t add too much at once. For thin metal, dip the rod quickly then pull it away. For thicker metal, you can feed more steadily.
Arc Length
Keep a short arc. The tungsten should stay close to the metal, but not touch. A long arc makes the weld wide and hard to control.
Weld Sequence
Start at one end and weld in small sections. Let the metal cool between passes if it gets too hot. For long corners, alternate sides to balance heat.
Watch The Pool
Look at the weld pool, not the arc. This tells you if you have enough heat, if the joint is melting evenly, and if you need more filler.
Here’s a simple step-by-step for welding the outside corner:
- Set your torch angle and start the arc.
- Wait for the edges to melt and form a small pool.
- Dip the filler rod into the pool, then pull it back.
- Move the torch forward a few millimeters.
- Repeat: Dip, move, dip, move.
This method keeps your bead small, even, and tidy.
Common Problems And How To Fix Them
Even with good technique, you might see problems. Here’s how to spot and fix the most common ones:
1. Burn-through
If the metal melts away or leaves a hole:
- Lower your amperage.
- Move faster.
- Use a copper backing bar.
2. Undercut
A groove forms at the edge of the weld:
- Keep your torch angle lower.
- Add filler sooner.
- Use less amperage.
3. Porosity
Small holes in the bead:
- Clean the metal better.
- Check for leaks in your gas line.
- Increase gas flow slightly.
4. Warping
The joint bends out of shape:
- Use more tack welds.
- Weld in small sections, letting the joint cool between passes.
- Clamp the pieces well.
5. Over-filling
Too much weld metal spills over the edge:
- Use a smaller filler rod.
- Feed less filler.
- Keep the torch moving.
Many problems come from rushing, using dirty metal, or not adjusting your settings. Take time to check your setup before you start.
Key Tips For Cleaner Welds
Small changes often give the best results. Here are tips that many welders overlook:
- Sharpen Your Tungsten: A sharp point gives a focused arc and better control, especially on thin metal.
- Use a Foot Pedal: This lets you adjust amperage as you weld. Back off the heat when you reach the end.
- Cool Down Between Passes: Don’t weld too much at once. Let the joint cool to avoid warping.
- Test on Scrap First: Run a practice bead on a scrap piece of the same thickness before welding your real joint.
- Adjust Lighting: Good light helps you see the pool and edges clearly.

Credit: www.thediecasting.com
Cleaning And Finishing The Weld
A clean weld looks good and works well. After welding, you need to finish the joint:
- Remove Slag or Oxide: Use a wire brush for steel or stainless. For aluminum, use a stainless steel brush.
- Grind Smooth (if needed): Use a flap disc to smooth the bead if you want a flush corner. Don’t grind into the base metal—just level the weld.
- Check for Defects: Look for cracks, holes, or undercut. If you see problems, re-weld the area.
- Final Cleaning: Wipe with acetone to remove oil or fingerprints.
A sharp, even outside corner weld often does not need grinding. If you set your machine right and use good technique, your bead will look professional straight from the torch.
Safety Reminders
TIG welding is safer than some methods, but you still need to protect yourself.
- Wear gloves and a flame-resistant jacket.
- Use a helmet with a #10-#13 shade.
- Work in a well-ventilated area.
- Keep a fire extinguisher nearby.
- Never touch hot metal with bare hands.
TIG welding creates UV light and hot sparks. These can cause burns or eye injury if you do not use proper gear.
Comparing Tig To Other Welding Methods For Outside Corners
Welders often ask if TIG is the best way to weld outside corners. Here is a comparison with other common methods:
| Method | Edge Quality | Heat Control | Skill Needed | Typical Use |
|---|---|---|---|---|
| TIG (GTAW) | Very clean | Excellent | High | Thin sheet, visible joints |
| MIG (GMAW) | Good | Medium | Medium | Production, thicker metal |
| Stick (SMAW) | Fair | Poor | Medium | Heavy steel, outdoor work |
TIG welding gives you the best control and appearance, but it is slower and needs more skill. MIG is faster but usually leaves a wider bead. Stick is not ideal for thin corners because it creates more spatter and can burn through.
Real-world Example: Welding A Stainless Steel Corner
Suppose you need to weld an outside corner on a stainless steel box, 1. 5 mm thick.
- Clean the edges with a wire brush and acetone.
- Clamp the pieces at 90°, leaving no gap.
- Set the TIG welder to 40 amps, use a 1.6 mm tungsten, and a 1.0 mm ER308L filler rod.
- Use 100% argon at 15 CFH.
- Place tack welds every 30 mm (1 inch).
- Hold the torch at 15°, keep the arc short, and feed the rod quickly.
- Weld small sections, letting the joint cool between passes.
- After welding, clean the bead with a stainless wire brush.
The result is a sharp, strong corner with no burn-through or undercut.
Advanced Tips For Experienced Welders
If you want to take your outside corner TIG welds to the next level, try these techniques:
Back-stepping
Weld in short sections, moving backward over the previous bead. This reduces warping and keeps the bead even.
Walking The Cup
For long, straight beads, rest the ceramic cup on the metal and roll it along the joint. This gives a smooth, consistent weld.
Using Chill Bars
Place a copper bar under the joint to pull heat away. This is useful for very thin metal.
Pulse Welding
If your welder has pulse, use it to control heat input. A higher pulse frequency (5-10 Hz) can give a tighter bead on thin corners.
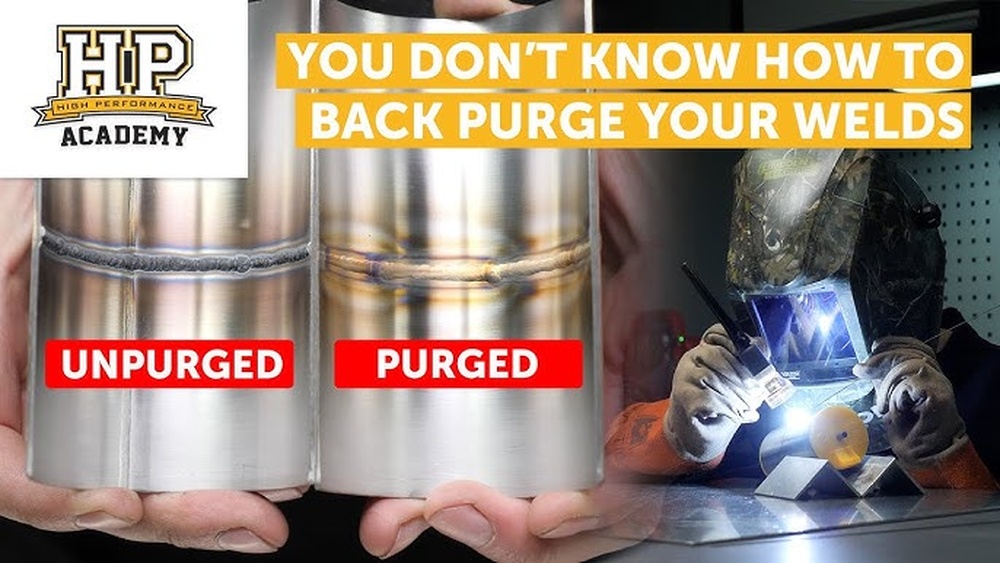
Argon Purge
For stainless steel, you can purge the inside of the joint with argon. This prevents oxidation and keeps the inside as clean as the outside.
Many of these methods require practice but can improve your results once you master the basics.
Mistakes Beginners Often Make
Most beginners face the same challenges on outside corners:
- Using too much filler rod: This causes a big, sloppy bead.
- Poor cleaning: Dirt or oil leads to porosity and weak welds.
- Wrong torch angle: Too flat or too steep causes undercut or burn-through.
- Trying to weld in one pass: This overheats the joint and warps the metal.
- Not checking gas flow: Low flow means contamination; high flow causes turbulence.
Focus on getting the basics right. Small, steady improvements make a big difference.
Credit: www.shengxinaluminium.com
Practice Exercises To Improve Your Skills
The best way to get clean outside corners is to practice. Here are three exercises:
- Straight Beads on Scrap: Practice running beads on a flat scrap to build torch control.
- Tack and Weld Short Corners: Cut small 90° angles from thin sheet and weld them. Focus on keeping the bead small.
- Test with Different Amperages: Weld the same joint at different amperages and compare the results.
Keep your samples and look at them after each session. This helps you see your progress.
How To Inspect And Test Your Welds
A clean bead looks good, but you should also check strength:
- Visual Check: Look for smooth, even beads with no holes, cracks, or undercut.
- Bend Test: Bend a welded sample to see if the bead cracks. A good weld bends without breaking.
- Penetration: Look at the back of the joint. You should see a slight discoloration, showing full fusion.
If you find problems, adjust your technique or settings and try again.
Useful Resources
Learning TIG welding takes time. Good sources include forums, video tutorials, and welding handbooks. One recommended starting point is the Wikipedia page on TIG welding.
Frequently Asked Questions
What Type Of Tungsten Should I Use For Tig Welding Outside Corners?
For most steel and stainless steel, use 2% lanthanated or 2% thoriated tungsten. For aluminum, use pure tungsten. Sharpen the point for steel and stainless; round it for aluminum.
How Do I Prevent Burn-through On Thin Metal?
Lower your amperage, move faster, and use a copper backing bar if possible. Also, use a smaller filler rod and keep the arc short.
Why Does My Weld Bead Have Holes Or Bubbles?
This is usually porosity from dirty metal or bad gas coverage. Clean your metal well, check your gas flow, and make sure your torch is not too far from the joint.
Can I Use Tig Welding For All Outside Corner Joints?
TIG works best for thin to medium thickness metals and where a clean appearance matters. For thick steel or outdoor work, MIG or Stick might be faster, but TIG gives the best finish for visible joints.
What Safety Gear Do I Need For Tig Welding?
You need a welding helmet with an auto-darkening lens, welding gloves, a flame-resistant jacket, and safety glasses. Work in a well-ventilated area to avoid breathing fumes.
Perfecting TIG welds on outside corners takes time and care, but the results are worth it. Focus on preparation, proper settings, and steady technique. With practice, your welds will be strong, clean, and professional.