Disclosure: This post contains affiliate links and I will be compensated if you make a purchase after clicking through my links. Learn More
Is TIG welding hard to learn? Yes, TIG welding is harder to learn than most beginners expect, because you control the torch, the filler rod and the amperage at the same time. Miller Electric says that just about everyone who tries TIG welding feels challenged at first.
The good news is that the hard part is a set of skills you can practice one at a time. Hand control, arc length, cleanliness and heat control all improve with time under the hood.
We break down what makes TIG (GTAW) tough, how it compares with MIG, and a practice plan that gets you laying clean beads faster.
Is TIG Welding Hard to Learn? The Short Answer
TIG welding has a steeper learning curve than MIG for most new welders, but it’s very learnable with steady practice. The challenge comes from coordination and precision.
Miller’s Ron Covell names coordinating the motion of both hands as the main early struggle. One hand holds the torch, the other feeds filler, and your foot or thumb sets the current.
Miller also frames the MIG to TIG jump as a change in control: with TIG, torch angle, filler metal and amperage are all controlled separately. If you already MIG weld, you bring joint prep and bead reading skills with you.
Why TIG Welding Feels Hard at First
You Use Both Hands and a Foot Pedal
Miller explains that TIG welding needs both hands, so welders use a foot pedal or a torch-mounted amperage control to start, adjust and stop the current. That’s 3 inputs to manage at once, and each one changes the puddle.
Your torch hand holds a steady angle and arc length. Your filler hand dabs rod into the leading edge of the puddle. Your foot adds or cuts heat as the part warms up.
Arc Length Has to Stay Very Short
Miller’s basics guide says to keep the tungsten 1/16 to 1/8 inch above the workpiece. A gap that small leaves little room for a shaky hand.
Let the gap grow and the arc wanders and spreads heat. Let it shrink and the tungsten dips into the puddle.
Tungsten Contamination Stops You Cold
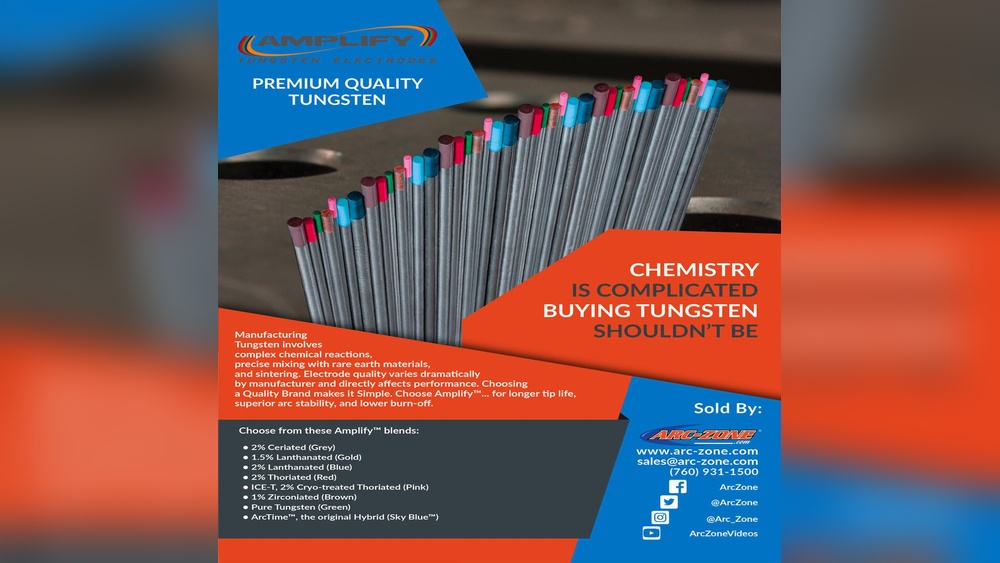
If the tungsten touches the puddle or the filler rod, it gets contaminated and the arc cone goes out of shape. Miller says to clean a contaminated electrode right away, and ESAB lists tungsten touching the pool or filler as the cause of tungsten contamination.
Beginners dip the tungsten often, so a lot of early practice time goes to regrinding. Miller suggests keeping a group of pre-sharpened electrodes handy so you can swap and keep going.
TIG Has Zero Tolerance for Dirt
Miller puts it plainly: TIG welding is not tolerant of any contaminants. ESAB says to clean the work of dirt, oil, paint and rust, and to wipe filler rods with acetone.
ESAB lists contaminants on the metal surface as a cause of porosity. On TIG, even light oil or a fingerprint can show up in the bead.
Heat Control Takes Feel
Miller calls heat control the essence of a good weld. You read the puddle and ride the pedal to keep it a steady size, about 1/4 inch wide according to Miller’s basics guide.
Thin-gauge metal is extra hard for beginners. Miller’s Ron Covell notes that a puddle that gets too big can drop away and leave a hole.
The Machine Has a Lot of Settings
Miller says some TIG machines show new users dozens of adjustable settings right away, and calls setup uncertainty one of the biggest hurdles in learning TIG. Polarity, tungsten type, gas flow, AC balance and pulse can all feel like a lot on day one.

Credit: www.youtube.com
TIG vs MIG vs Stick: How the Learning Curve Compares
The table sums up what each process asks of you, based on Miller and ESAB guidance.
| Factor | TIG (GTAW) | MIG (GMAW) | Stick (SMAW) |
|---|---|---|---|
| Hands in use | Both hands plus foot pedal or torch control | 1 hand on the gun, wire feeds itself | 1 or 2 hands on the holder, rod is the filler |
| Filler | Added by hand, separately | Fed by the machine | The electrode melts in |
| Heat control | Live, with pedal or torch control | Set on the machine before welding | Set on the machine before welding |
| Spatter and slag | None | Some spatter | Spatter and slag to chip |
Miller sums up the TIG side this way: TIG trades speed and deposition rate for precision and feedback. If you want fast, simple fabrication, MIG is the easier first step.
What Makes TIG Easier to Learn
These habits come straight from Miller and ESAB guidance, and they cut the learning curve a lot.
Step 1: Start on Clean Mild Steel With DC
ESAB says a DC-only power source is enough for steel and stainless steel, and it lists DCEN for most metals other than aluminum. Miller notes that aluminum challenges new welders, so leave AC aluminum for later.
Step 2: Set Up the Basics Right
Miller’s basics guide gives a simple starting point: 15 to 20 cfh of shielding gas and a 3/32 inch tungsten for general work up to 220 amps. Leave about 1/8 to 1/4 inch of tungsten out of the collet, and grind it to a point on a 200-grit or finer wheel used only for tungsten.
Step 3: Get Comfortable and Brace Your Hands
Ron Covell suggests you sit whenever you can and rest your hands on blocks for support. Do a dry practice run along the joint before you strike the arc.
Step 4: Practice Each Hand on Its Own
Miller recommends practicing torch movement and filler dabbing separately with each hand to build muscle memory. Run a few beads with no filler at all, then add rod once the torch hand is steady.
Step 5: Learn the Pedal on Puddle Size
Practice raising and lowering heat with the foot pedal and watch the puddle grow and shrink. Aim for that steady 1/4 inch puddle before you worry about bead looks.
Step 6: Move to Joints and Positions
ESAB says to practice on scrap before real projects and to try different joint types, positions and travel speeds. It warns that moving too fast can cause lack of penetration, and moving too slowly can overheat the part.
Common Mistakes That Slow Beginners Down
- Long arc length: hold 1/16 to 1/8 inch, per Miller.
- Dipping the tungsten: stop, regrind or swap, then restart.
- Skipping cleanup: degrease first, then use a wire brush kept for that one metal, as Miller advises.
- Starting on aluminum or thin sheet: both punish small mistakes.
- Big filler dabs: Miller says to dab in a quick, controlled way so you don’t leave large deposits.
- Fighting a cramped posture: sit and brace to steady both hands.
TIG Welding Safety Basics
TIG has no spatter, but the arc still gives off strong UV light and the process carries electric shock and fume risk. Wear a welding helmet with the right shade, gloves and long sleeves, and weld with good ventilation.
Follow the safety section in your machine’s owner’s manual, and never weld on wet ground or with damaged leads.
Frequently Asked Questions
How long does it take to learn TIG welding?
There’s no fixed timeline, because it depends on how often you practice and what metal you start on. Practice on clean mild steel with DC first. Build torch control, then filler feeding, then pedal control. Regular practice builds the muscle memory Miller says smooth TIG welds need.
Is TIG harder to learn than MIG?
Yes, for most people. MIG feeds wire for you, so you guide one gun. TIG asks you to control the torch, feed filler by hand and adjust amperage with a pedal at once. Miller notes TIG gives finer heat control in exchange for that extra work.
Can you teach yourself TIG welding?
Yes, many hobby welders learn TIG on their own with a DC machine, clean mild steel and plenty of scrap. Follow your manual for setup, practice each hand separately, and keep spare sharpened tungsten nearby. A class or a mentor can still help you fix habits sooner.
Should a beginner learn MIG or TIG first?
Most beginners find MIG easier to start with, because the machine feeds the wire and the arc is easy to strike. Starting with MIG teaches joint prep and bead reading. You can move to TIG later when you want finer heat control on thin or stainless parts.
Do you need a foot pedal to TIG weld?
No, but most welders use one. Miller says TIG welders rely on a foot pedal or a torch-mounted amperage control to start, adjust and stop current. A pedal lets you add or cut heat as the part warms, which helps a lot on thin metal and aluminum.
Final Words
TIG welding is hard to learn at first because you run both hands and the heat at the same time. Most of the struggle comes from coordination, arc length, contamination and heat control.
Start on clean mild steel with DC, set up the basics from your manual, and practice one skill at a time. Once your torch hand is steady and the pedal feels natural, the filler rod and clean beads follow.