Disclosure: This post contains affiliate links and I will be compensated if you make a purchase after clicking through my links. Learn More
Wiring a 220V welder plug is a practical way to power heavy-duty welders at home or in your workshop. The process demands safe handling, the right tools, and solid knowledge of electrical codes to ensure reliable and hazard-free operation. Getting this right means your welder will run smoothly, and you’ll avoid common electrical dangers.
Why You Need A 220v Welder Plug
A standard 110V outlet won’t power most welders, especially those designed for deep penetration and heavy metals. 220V welder plugs deliver more power, allow longer duty cycles, and prevent tripped breakers. If you’re serious about welding steel, aluminum, or cast iron, a 220V connection is essential.
Key advantages of a 220V plug:
- Higher amperage means more consistent arc and cleaner welds. This is especially important when working with thick materials, where a weak arc can cause poor fusion and weak joints.
- Reduced voltage drop prevents overheating and equipment damage. Long wire runs in your shop can lose voltage, but 220V handles it better than 110V.
- Compliance with welder manuals—most industrial and garage welders require 220V. Using the correct voltage ensures you’re not voiding the warranty or risking premature failure.
Another reason to choose 220V: your welder will be able to run for longer periods without the machine or wiring getting hot. This is called a longer “duty cycle” and means you can get more done in less time.
Safety First: What You Must Know Before Wiring
Working with 220V is not a casual DIY project. Electricity at this level can cause serious injury or fire if mishandled. Always shut off the main breaker before starting. Use insulated tools and wear protective gloves and safety glasses.
Check your local electrical code. In the USA, the National Electrical Code (NEC) is the standard. Some areas need a permit or licensed electrician to perform this work. Never skip these checks. Safety and legality come first.
If you’re new to electrical work, take time to learn how your home’s electrical panel is set up. Don’t trust labels on breakers—test them with a voltage tester. Many homes have been remodeled and labels may not match the real wiring.
Hidden hazard: Some older homes may have aluminum branch wires or no ground at all. Upgrading these is not optional for safety. If you’re unsure, get a pro to inspect before you begin.
Tools And Materials You Will Need
Gather all materials and tools before starting. Missing items can lead to frustration or unsafe shortcuts.
You will need:
- 220V welder plug and matching outlet (NEMA 6-50 or 14-50 are common types)
- Double-pole circuit breaker (amp rating per welder’s manual, usually 30A or 50A)
- Electrical wire (usually 6 or 8 AWG, copper, 3 or 4-conductor as required)
- Wire stripper and cutter
- Screwdrivers (flat and Phillips)
- Voltage tester or multimeter
- Electrical tape
- Cable clamps and wire connectors
- Drill and bits (if installing new outlet box)
- Outlet box (metal or plastic, as preferred)
- Fish tape (for pulling wire through walls)
Expert tip: Always buy 10-20% more wire than you measure. Wires must reach from your breaker panel to the new outlet, including extra for bends and connections. It’s easy to miscalculate, especially around corners and obstacles.
For a neater job, use a stud finder to plan your wire path inside walls. If you’re drilling through studs or joists, use a protective grommet or bushing to prevent wire chafing, which can cause shorts over time.
Understanding 220v Circuit Basics
A 220V welder circuit uses two hot wires instead of one. Each hot wire carries 110-120V, but together they create 220V across the plug. Ground and sometimes neutral wires complete the system.
Three-wire vs. four-wire:
- Three-wire: Two hots (black, red) + ground (bare/green). Most welders use this.
- Four-wire: Two hots, neutral (white), and ground. Required for some outlets (NEMA 14-50).
Check your welder’s manual and local code before choosing.
Wire size matters. For a 50A welder, use 6 AWG copper. For 30A, 8 AWG may work. Never undersize wires—overheating and fire risk are real.
Also, remember that voltage drop increases with distance. If your wiring run is over 50 feet, you should size up to the next thicker wire. For example, use 4 AWG instead of 6 AWG for a long 50A circuit. This prevents power loss and keeps your welder running at full strength.
Choosing The Right Welder Plug And Outlet
Different welders use different plugs. The most common in the USA are NEMA 6-50 and NEMA 14-50. Match your outlet to your welder’s plug.
| Plug Type | Wires | Common Use | Neutral? |
|---|---|---|---|
| NEMA 6-50 | 2 hots + ground | Welders | No |
| NEMA 14-50 | 2 hots + neutral + ground | RV, ranges, some welders | Yes |
Mistake to avoid: Don’t try to “force fit” a plug to an outlet. If they don’t match, get the right one. Adapters can be dangerous and may void your welder’s warranty.
Also, pay attention to the outlet’s amp rating. A NEMA 6-50 is rated for 50A, while other outlets might only handle 30A. Never downgrade an outlet “just to get by. ” That can overheat and melt the outlet or wiring.
If you have a multi-process welder (for MIG/TIG/Stick), the manual will specify which outlet to use. Some welders ship with no plug at all—don’t just guess. Buy and install the correct plug for your circuit.
Step-by-step: How To Wire A 220v Welder Plug
You’re ready to wire. Follow these steps with care and patience.
1. Plan Your Circuit
Decide where you want the outlet. Shorter wire runs are better. Avoid running wires near water lines or sharp metal edges. Measure the path from your breaker box to the outlet location.
Pro insight: Mark both ends of your wire (breaker and outlet) with colored tape. This prevents confusion when connecting.
Consider your welder’s cord length and where you’ll be working. Placing the outlet within easy reach of your welding table saves you from using dangerous extension cords.
2. Turn Off Main Power
Find your main breaker and switch it OFF. Test outlets and the panel with a voltage tester to make sure power is gone. Never skip this. Fatal shocks can happen in seconds.
Some panels have more than one main breaker. Check both if needed. Always lock out the panel or put a note on it so no one else turns the power back on while you’re working.
3. Install The Outlet Box
Mount your electrical box securely to a stud. If surface mounting, use a metal box with cable clamps. The box must be big enough for all wires and the outlet.
If you’re installing in drywall, use a remodel box that clamps to the wall surface. For garages or basements, surface-mount boxes are easier and safer to inspect later.
4. Run The Wire
Feed the wire from the breaker panel to the outlet box. Use fish tape to pull through walls or conduits. Avoid tight bends. Leave 6-8 inches of extra wire at both ends for easy connections.
Expert insight: Staple the wire every 4.5 feet or less, and within 12 inches of the box, per NEC code.
Check that your wire is never pinched by screws, nails, or sharp edges. Use bushings where wire enters metal boxes to prevent damage.
5. Strip The Wires
Use a wire stripper to remove about 3/4 inch of insulation from each conductor. Don’t nick or damage the copper. Neatly twist wire strands if stranded wire is used.
If you’re new to wire stripping, practice on a scrap piece first. Damaged wire can lead to a weak or hot connection.
6. Connect Wires To The Outlet
For a NEMA 6-50 outlet:
- Connect one hot wire (black) to one brass terminal.
- Connect the other hot wire (red) to the second brass terminal.
- Connect the ground wire (bare or green) to the green terminal.
For a NEMA 14-50 outlet:
- Black and red wires to the hot terminals (usually marked X and Y).
- White (neutral) to the silver terminal.
- Bare/green (ground) to the green terminal.
Tighten all screws firmly. Loose connections can cause heat and fires.
Extra tip: If your wire is stranded, use a fork terminal for a more reliable connection under the screw.
7. Wire The Breaker Panel
Open the breaker panel. Insert the double-pole breaker into an open slot. Connect the black and red wires to the breaker terminals. Connect the ground (and neutral if used) to the proper bus bar.
Important: Never connect both ground and neutral to the same bar unless your panel is rated for it. Check the panel’s label and the NEC code.
Take care to neatly route wires so they don’t block other breakers or crowd the panel. Use wire clamps if required by code.
8. Secure And Label Everything
Attach the outlet to the box and the cover plate. Inside the breaker panel, make sure all connections are tight and neat. Label the new breaker as “Welder 220V”.
Tip: A clear label helps others know this is a dedicated welder circuit.
Use a permanent marker or a printed label for long-term clarity. This is especially helpful if you sell your home or another electrician works on your panel in the future.
9. Test The Circuit
Turn on the main breaker. Flip the new breaker ON. Test the outlet with a multimeter—verify 220-240V across the two hot slots, and 110-120V from each hot to ground.
Plug in your welder and test it. If you see sparks, smell burning, or the breaker trips, turn everything OFF and double-check your work.
Never use a circuit that shows any signs of malfunction. If you’re not sure, call a licensed electrician for inspection before using the welder.

Credit: www.youtube.com
Common Mistakes And How To Avoid Them
Even experienced DIYers make errors with 220V wiring. Here’s what to watch out for:
- Undersized wire: Using 10 AWG or smaller for a 50A welder is unsafe.
- Wrong outlet type: Using a dryer or range outlet that doesn’t match your welder’s plug.
- No ground wire: Skipping ground invites shock hazard.
- Loose connections: Can cause arcing and fire.
- No permit: Local codes often require inspection.
Pro tip: If you’re unsure, ask a licensed electrician to double-check your work. It’s cheap insurance.
A lesser-known mistake: overtightening screws on outlets or breakers. This can damage the wire, leading to weak connections. Tighten firmly, but do not crush the wire.
Choosing The Right Breaker And Wire Size
Proper breaker and wire sizing prevent fires and nuisance trips. Here’s a simple guide:
| Welder Amps | Breaker Size | Wire Gauge (Copper) | Max Wire Length* |
|---|---|---|---|
| 30A | 30A double-pole | 10 AWG | up to 50 ft |
| 40A | 40A double-pole | 8 AWG | up to 50 ft |
| 50A | 50A double-pole | 6 AWG | up to 50 ft |
*For longer wire runs, increase wire size to reduce voltage drop.
Don’t guess your breaker size. Check your welder’s manual for the recommended amperage.
Also, don’t use aluminum wire for welder circuits. Aluminum expands and contracts more than copper, which can loosen connections and cause heat buildup—a hidden danger for high-amperage tools like welders.

Credit: www.wcwelding.com
Understanding Grounding And Neutral
Ground and neutral serve different purposes. Ground is for safety—it carries current only during a fault. Neutral carries return current in a four-wire setup, mostly for outlets sharing 110V and 220V loads.
Never swap ground and neutral. Some older homes may not have a separate ground. If so, upgrade the wiring for safety.
A proper ground path helps breakers trip quickly if a fault occurs. Without it, metal parts of your welder or outlet could become live and cause a deadly shock.
Diy Vs. Hiring A Professional Electrician
Wiring a 220V plug is legal for homeowners in many areas, but not all. If you have any doubts, hire a professional. Mistakes can lead to fire, destroyed equipment, or injury.
Benefits of a pro electrician:
- Code compliance and proper permits
- Insurance coverage for your home
- Faster and safer installation
DIY can save money, but only if you’re confident in your electrical skills.
If you decide to hire a pro, ask them to walk you through their work. Understanding your own system will help you maintain it safely.
Real-world Example: Wiring A 50a Nema 6-50 Plug For A Mig Welder
Suppose you buy a popular MIG welder needing 50A at 220V. You check the manual: “Requires 50A, 220V, three-wire.” Your panel has a free slot, and you’re ready to install.
- Buy 25 feet of 6/2 copper cable, a double-pole 50A breaker, a NEMA 6-50 outlet and box.
- Shut off the main power.
- Mount the box near your welding bench.
- Run and secure the wire, leaving slack at both ends.
- Strip insulation and connect black and red to the two hot terminals, ground to green.
- At the panel, install the breaker, connect black and red to breaker, ground to ground bar.
- Secure everything, label, and test for 220V.
You’re now ready to weld thick steel without tripping breakers or risking fire.
If you ever upgrade to a larger welder, review your wiring and breaker size before plugging it in. Bigger welders may need heavier wire and a different outlet.
Troubleshooting: What If It Doesn’t Work?
If the welder won’t power on, or the breaker trips, try these steps:
- Double-check wiring: Are all terminals tight and correct?
- Test with a multimeter: Are you getting 220V at the outlet?
- Check breaker: Is it the right size and properly seated?
- Look for damage: Inspect wires for cuts, pinches, or burn marks.
- Call a pro: If still stuck, hire an electrician.
A common beginner mistake is reversing the hot and ground wires. This can cause the breaker to trip instantly or the welder to not power on at all. Always check your color codes and connections twice.
Upgrading Or Changing Your Welder Plug
If you buy a new welder with a different plug, don’t just swap the outlet unless it matches your wire size and breaker. Upgrading from a 30A to a 50A welder requires heavier wire and a bigger breaker.
Never put a larger breaker on small-gauge wire. This is a major fire risk.
If you ever need to change the plug type (like from NEMA 6-50 to 14-50), you may need to run new wire if the original does not have a neutral. Always check both your welder’s requirements and the NEC code before making changes.
Code Compliance And Inspection
Cities and counties often require a permit and inspection for new 220V circuits. This protects you and your insurance coverage. Many home insurance policies are void if electrical work is unpermitted and causes damage.
Check requirements at your local building department or the National Fire Protection Association.
Inspection tips:
- Wires secured and protected from damage
- Outlet wired per code
- Breaker labeled and properly installed
A failed inspection usually means you need to fix only minor details. Inspectors are there to help, not punish, and want your installation to be safe.
Top Tips For Success
- Use only copper wire for welding circuits. Aluminum is not recommended.
- Keep wire runs as short as possible to reduce voltage drop.
- Invest in a quality outlet and plug—cheap ones can overheat.
- Label your breaker clearly.
- Test everything before plugging in your welder.
Another tip: If you ever move your welder, cap off or de-energize unused outlets. Leaving a live 220V outlet exposed is a serious risk.
How A 220v Welder Plug Differs From Other Outlets
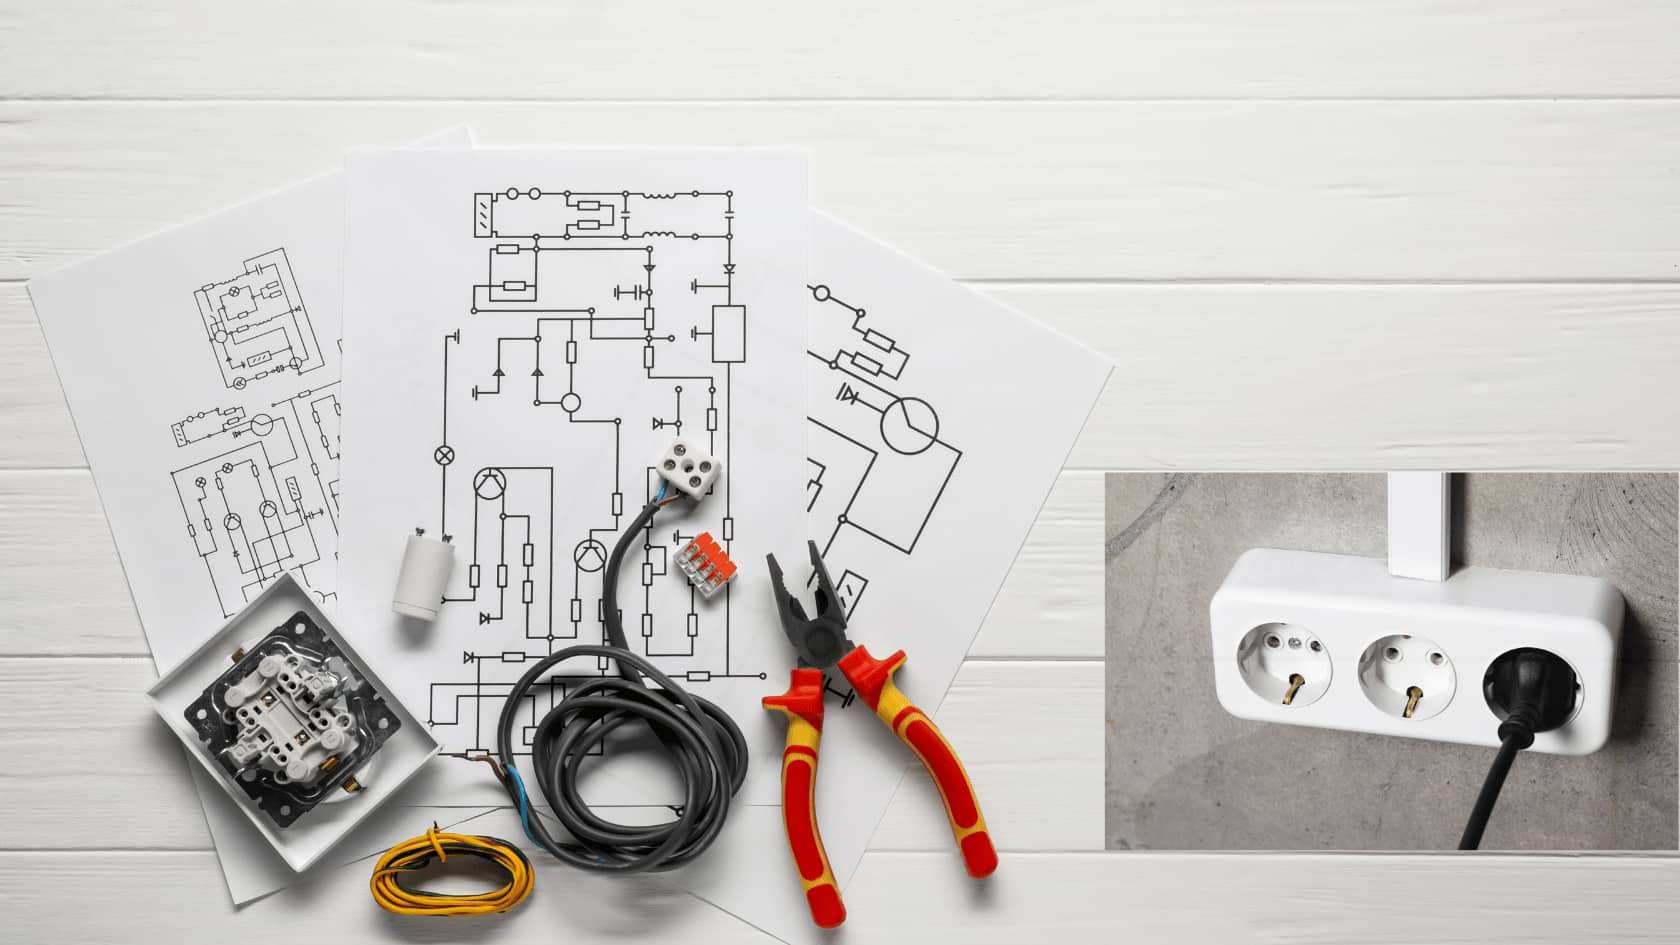
Many people confuse 220V welder plugs with dryer, oven, or RV outlets. The difference is in amp rating, neutral wire, and plug shape.
Key differences:
- Welder outlets often lack a neutral wire.
- Amperage rating is typically higher.
- Plug shape prevents accidental use with other appliances.
Never use an outlet designed for a different appliance. Each is built for a specific load and safety standard.
For example, plugging a welder into a dryer outlet could blow fuses, damage your machine, or create a shock hazard. Always use the outlet specified in your welder’s manual.
Credit: www.arccaptain.com
Protecting Your Welder And Home
Surge protection and arc fault breakers provide extra safety. Welders can create voltage spikes when starting. Ask your electrician if adding a surge protector is wise, especially in areas with unstable power.
Never use extension cords unless they are rated for 50A and 220V. Most common cords will overheat and cause fire.
Look for heavy-duty, welding-specific extension cords if you must use one. Even then, keep the cord as short as possible. Longer cords mean more voltage drop and less power at your welder.
Frequently Asked Questions
How Do I Know What Size Breaker My Welder Needs?
Check your welder’s manual for the recommended amp rating. Most 220V welders need a 30A or 50A double-pole breaker. Using a breaker that’s too small causes nuisance trips; too large is a fire hazard.
Can I Use A Dryer Outlet For My Welder?
Usually no. Dryer outlets often use a neutral wire and may have a different amp rating or plug shape. Always use an outlet and plug that match your welder’s requirements for safety and code compliance.
Is It Safe To Wire A 220v Welder Plug Myself?
It’s safe if you have electrical experience and follow code. Always shut off power, use the right wire and breaker, and check your work. If unsure, hire a licensed electrician to inspect or complete the job.
What Happens If I Use The Wrong Wire Size?
Using wire that’s too small for your welder’s amperage causes overheating and fire risk. It also can damage your welder. Always match the wire size to the breaker and welder specifications.
Do I Need A Permit To Install A 220v Welder Outlet?
In most US locations, yes—a permit and inspection are required for new 220V circuits. Check with your local building department. Permits ensure your work is safe and keeps your home insurance valid.
Wiring a 220V welder plug is a straightforward job if you respect the power, follow the steps, and never cut corners. With the right tools, the correct materials, and attention to safety, you’ll have reliable welding power for years to come.
Always double-check your local codes and ask for help if you’re ever uncertain. Welding is about precision—so is electrical work.