Disclosure: This post contains affiliate links and I will be compensated if you make a purchase after clicking through my links. Learn More
Reading welding position codes can feel confusing when you first see them. Welders see numbers and letters on blueprints, test papers, and job cards. These codes tell you how and where to make a weld. Understanding basic welding position codes is important for students, new welders, inspectors, and anyone working in construction or manufacturing.
These codes ensure that everyone understands what type of weld is needed and how to check the quality.
Welding codes don’t just help workers. They keep projects safe and organized. They make sure bridges, buildings, and machines stay strong. When you learn these codes, you become more valuable in the workplace. This guide will show you the basics of welding position codes.
You’ll learn what the codes mean, how to read them, and how to use them in real jobs.
What Are Welding Position Codes?
Welding position codes show the position and type of a weld. They are part of standards set by groups like the American Welding Society (AWS). These codes use numbers and letters. Each part of the code gives information about the weld. For example, a code like 2G or 3F shows both the position (2 or 3) and the type (G or F).
You will see these codes on welding tests, drawings, and work instructions. They help everyone use the same language, so there’s no confusion. These codes are not the same for every welding process, but the basic rules are similar. They mostly cover arc welding processes such as Shielded Metal Arc Welding (SMAW), Gas Metal Arc Welding (GMAW), and Flux Cored Arc Welding (FCAW).
Breaking Down The Code: What Each Part Means
Welding position codes usually have two or three parts. Understanding each part is key.
- Number: Shows the position (1, 2, 3, or 4)
- Letter: Shows the type of weld (F for Fillet, G for Groove)
- Extra Letters/Numbers: Sometimes, a code will have an extra letter or number for special cases (like “5G” or “6G”)
Let’s look at a common code: 2F.
- “2” means the position.
- “F” means a fillet weld.
If you see 3G:
- “3” means the position.
- “G” means a groove weld.
This simple system lets you read welding instructions quickly and clearly.
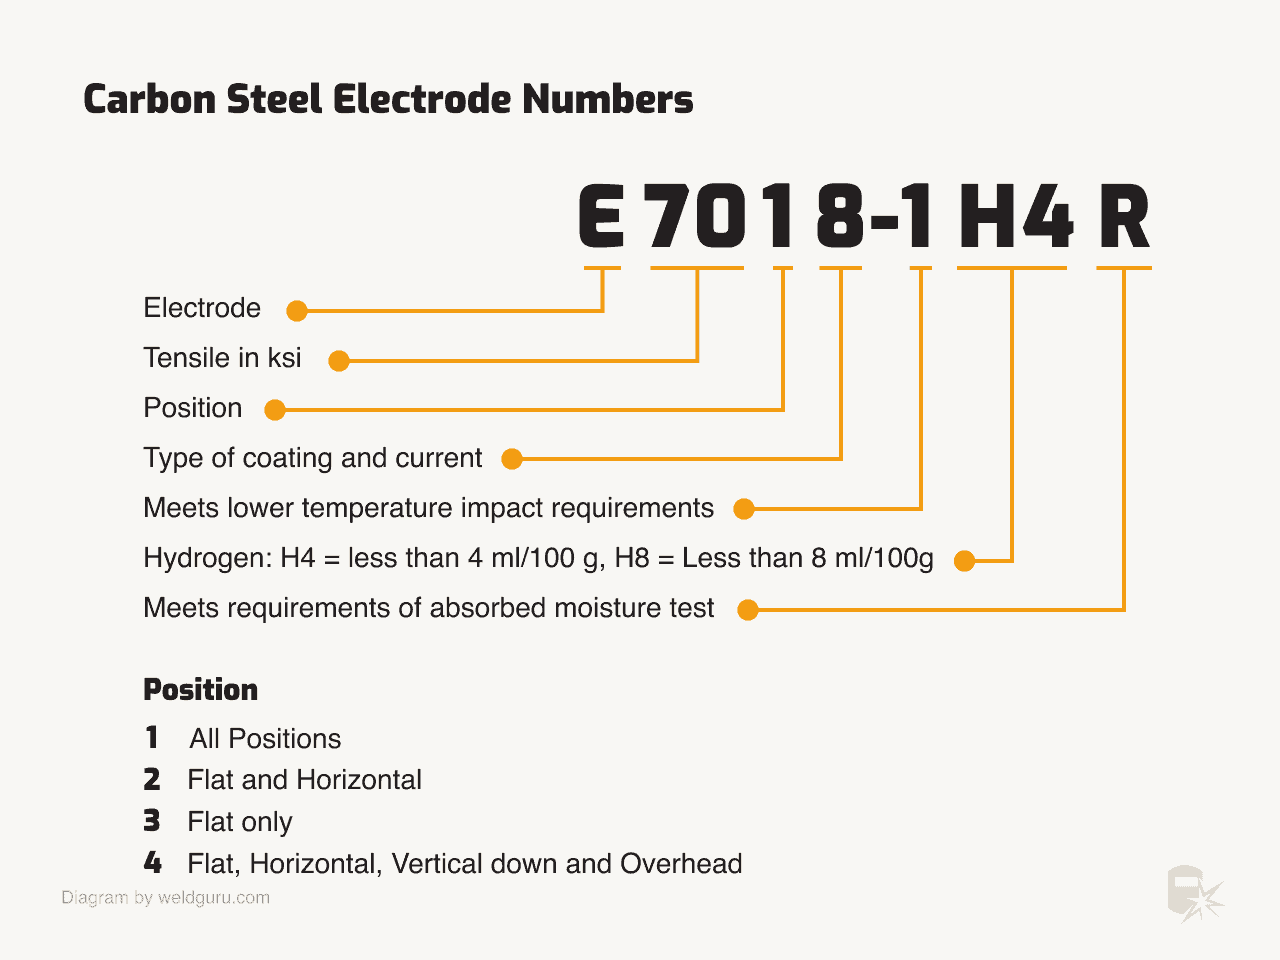
Credit: weldguru.com
The Four Basic Welding Positions
Welding positions describe the angle and direction of the weld. The main positions are:
- Flat (1)
- Horizontal (2)
- Vertical (3)
- Overhead (4)
Each number is always the same across codes. These positions matter because welding is easier or harder depending on the angle. Flat is usually the easiest, overhead is the most challenging.
Here is a comparison of the four basic positions:
| Position Number | Position Name | Common Symbol | Difficulty Level |
|---|---|---|---|
| 1 | Flat | 1F/1G | Easy |
| 2 | Horizontal | 2F/2G | Medium |
| 3 | Vertical | 3F/3G | Hard |
| 4 | Overhead | 4F/4G | Hardest |
What Is A Fillet Weld (f) And Groove Weld (g)?
Welds have two main types in these codes:
- Fillet Weld (F): This weld joins two surfaces at a right angle. You often see them in “T” or “corner” joints. Fillet welds look like a triangle in cross-section.
- Groove Weld (G): This weld joins two pieces edge to edge. The groove is the space between the pieces, which the weld fills.
Understanding this difference helps you know the shape and purpose of the weld.
Detailed Explanation Of Each Welding Position Code
Let’s look at what each code means in detail. We will cover 1F, 2F, 3F, 4F, 1G, 2G, 3G, and 4G. You’ll see examples and simple explanations.
1f (flat Fillet Weld)
You place two pieces in a “T” shape. The weld goes at the base, and you work from above. This is the easiest position. Gravity helps the molten metal stay in the joint. Beginners start here. If you pass a 1F test, you show you can make a strong, basic weld.
Example: Welding the base of a vertical plate to a horizontal plate on a workbench.
2f (horizontal Fillet Weld)
The joint is still a “T”, but you turn the plates so the weld is horizontal. You weld along the side of the vertical plate. Gravity now pulls the molten metal down, so you must control your speed and angle.
This position is harder than flat, but still common in real work.
Example: Welding along a horizontal seam of a fence post.
3f (vertical Fillet Weld)
You weld up or down a vertical “T” joint. The challenge is to keep the weld from sagging or piling up. You may need to change your technique, such as welding uphill or downhill. 3F tests your control over the weld pool.
Many pipelines and structural jobs need this skill.
Example: Welding a vertical support onto a beam.
4f (overhead Fillet Weld)
Now, you weld a “T” joint from underneath. The molten metal wants to drip, so you must work fast and keep a steady hand. This is the hardest basic fillet weld. If you can pass a 4F test, you can probably weld in any position.
Example: Welding a pipe bracket to the ceiling.
1g (flat Groove Weld)
You weld two plates lying flat, edge to edge. The groove may be a simple gap or a V-shape. You work from above, and gravity helps the weld fill the groove. This is the basic test for groove welds. Good for practice and learning how to control penetration.
Example: Welding two steel plates together to make a larger plate.
2g (horizontal Groove Weld)
The plates are vertical, and you weld horizontally between them. Gravity wants to pull the molten metal down, so you need to adjust your technique. You must keep the weld even and prevent sagging.
Example: Welding the seam of two steel plates on a wall.
3g (vertical Groove Weld)
You weld up or down between two vertical plates. The weld joint is vertical. This position is common in building columns, tanks, and pressure vessels. It tests your skill and patience. Many codes require you to weld both uphill and downhill.
Example: Welding the seam of a water tank.
4g (overhead Groove Weld)
You weld two plates placed above you. The groove is overhead, and you must weld from below. This is a tough position, as the molten metal can drip or fall. It requires practice and safety gear.
Example: Welding the underside of a bridge plate.
Special Welding Position Codes: 5g And 6g
Some jobs use special positions, especially with pipes. These are:
- 5G: The pipe is horizontal, but you weld all the way around. The pipe cannot turn. You must weld in flat, vertical, and overhead positions as you move around the pipe.
- 6G: The pipe sits at a 45-degree angle. You weld around the pipe, but you cannot move it. This is the hardest test. It proves you can weld in all positions at once.
These codes are key for pipe welders. Many companies only hire welders who pass a 6G test.
Here is a comparison between 1G–4G and 5G–6G positions:
| Code | Workpiece Type | Position | Skill Level |
|---|---|---|---|
| 1G–4G | Plates | Flat, Horizontal, Vertical, Overhead | Beginner to Advanced |
| 5G | Pipes | Horizontal (fixed) | Advanced |
| 6G | Pipes | 45° (fixed) | Expert |
How To Read Welding Position Codes Step By Step
Reading a welding position code is simple once you know the parts. Here’s a step-by-step process:
- Look at the number: This tells you the position (1–4 for plates, 5 or 6 for pipes).
- Check the letter: “F” means fillet weld, “G” means groove weld.
- Look for extra information: Some codes add extra letters or numbers, such as “U” for “uphill” or “D” for “downhill.”
- Think about the workpiece: Is it a plate or a pipe?
- Imagine the weld: Picture where the weld will go based on the code.
Example: The code “3G” means a vertical groove weld.
Another example: “6G” means a weld around a fixed pipe at a 45-degree angle.
Common Welding Standards And Where Codes Appear
Welding position codes are used in many standards. The AWS D1.1 Structural Welding Code is the most common in the United States. Other countries and industries have their own standards, but most use similar codes.
You will see these codes in:
- Welding qualification tests: To prove you can weld in a certain position.
- Blueprints/drawings: To show where and how to weld.
- Inspection reports: To check if the welds meet the code.
Knowing these codes helps you pass tests and work on real projects.

Credit: www.millerwelds.com
Why Welding Position Codes Matter In Practice
The right code makes sure the weld is strong, safe, and meets project needs. Some welds are easy to make in the flat position, but hard overhead. By using codes, everyone knows what skill and technique are needed.
Mistakes with welding position codes can lead to weak welds. This could cause a failure in a bridge, building, or pipeline. Good welders always check the code before starting work.
Key Differences: Plate Vs. Pipe Welding Codes
Welding position codes work for both plates and pipes, but there are some differences.
- Plate codes (1G–4G, 1F–4F): Used for flat pieces of metal. You can turn the plate to make the weld easier.
- Pipe codes (5G, 6G): Used for round pipes. The pipe cannot turn, so the welder must move around it. This is harder, especially for beginners.
Understanding the difference helps you prepare for jobs in construction, oil and gas, and manufacturing.
How Welding Position Codes Affect Certification And Jobs
Welders often need to pass a test in a certain position to work on a project. For example, a company may only accept welders who pass the 3G and 4G tests. Pipe welders may need a 6G certification.
If you pass a harder test, you are usually qualified for the easier positions below it. For example, if you pass a 3G test, you can weld in 1G and 2G as well.
Here is a summary of qualification rules:
| Test Position Passed | Positions Qualified For | Common Job Type |
|---|---|---|
| 1G | 1G | Flat plate welding |
| 2G | 1G, 2G | Horizontal/flat plate welding |
| 3G | 1G, 2G, 3G | Structural welding |
| 4G | 1G, 2G, 3G, 4G | Advanced structural work |
| 6G | All positions | Pipe welding |
Non-obvious Insights Beginners Miss
Many new welders focus on passing one test, but they miss two important points:
- Technique changes by position: The way you move the welding rod or gun changes for each position. For example, vertical welding often needs a “weave” motion, while flat welding may use a straight “drag” motion.
- Preparation is key: Cleaning the metal and setting up the joint is more important in overhead or vertical welding. Gravity works against you, so extra care is needed.
Another insight: passing a 6G test shows more than skill. It proves you have patience and attention to detail. Many employers look for this because the hardest positions show your true ability.
Common Mistakes When Reading Welding Position Codes
Welders sometimes make mistakes with position codes. Here are some common errors:
- Confusing F and G: Mixing up fillet and groove welds can lead to the wrong joint type.
- Ignoring extra letters or numbers: Some codes have details like “U” (uphill) or “D” (downhill). Missing these can lead to weak welds.
- Assuming all codes are the same: Different standards (AWS, ASME, ISO) may have small changes in their codes.
- Not checking the workpiece: Using a plate code on a pipe, or vice versa, can lead to testing errors.
To avoid these mistakes, always read the full code and ask questions if unsure.
How To Practice Reading Welding Position Codes
You can get better at reading codes with practice. Here’s how:
- Look at welding drawings: Find sample blueprints online or in textbooks. Try to read all the codes.
- Quiz yourself: Write down codes and test yourself on their meaning.
- Watch welding videos: Many online videos show real jobs and exams. Watch how professionals read and follow codes.
- Join a welding class: Instructors give you real-world examples and correct your mistakes.
The more you practice, the faster you will understand real work instructions.
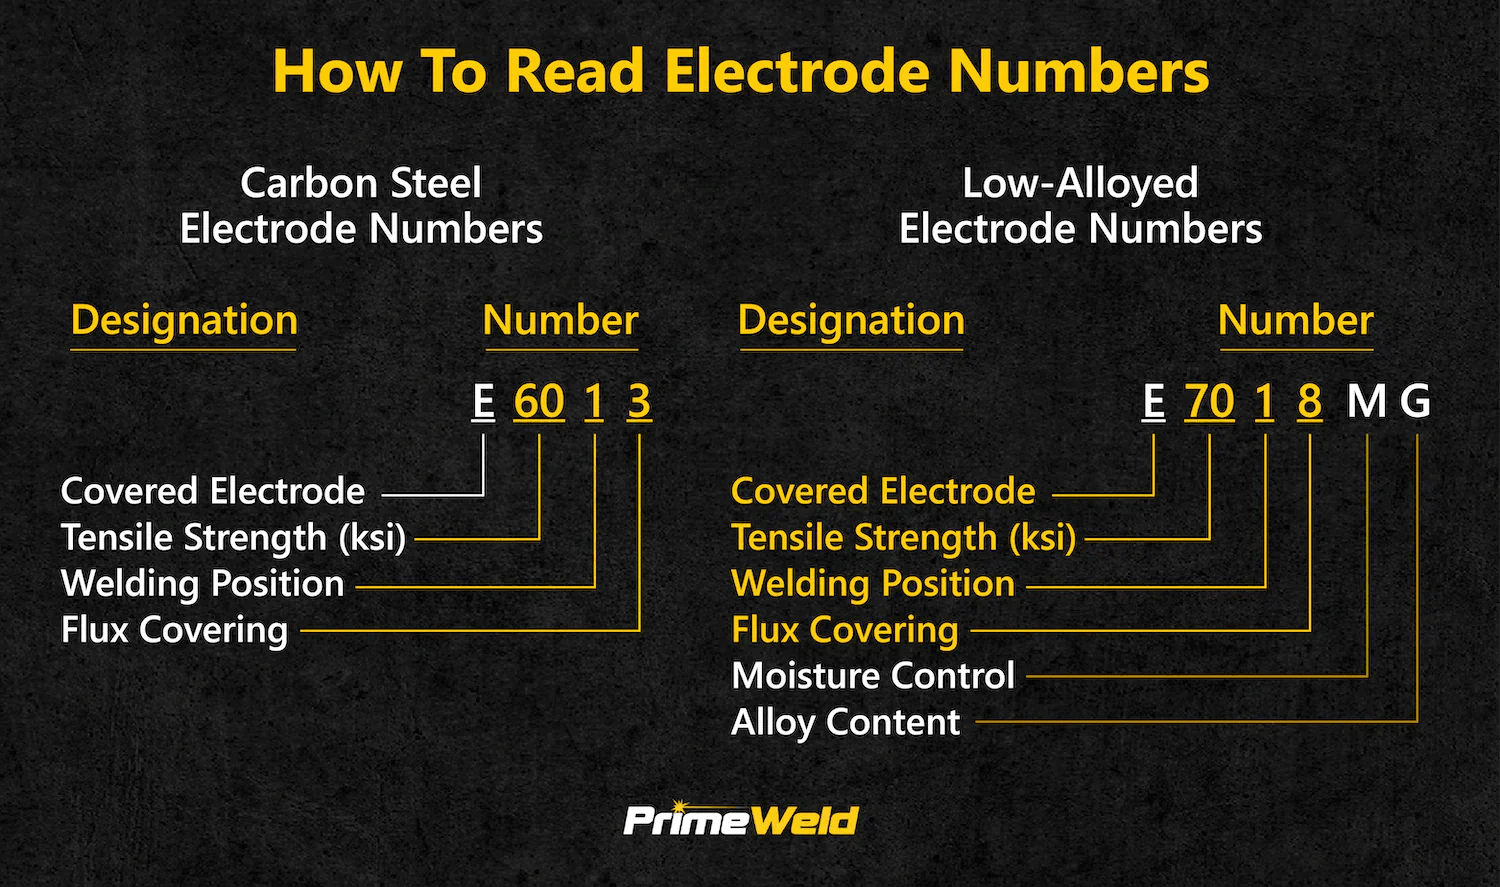
Credit: weldingmart.com
Using Welding Position Codes On The Job
Once you can read codes, use them to plan your work:
- Check the code before starting: Make sure you understand what is required.
- Set up your workspace: Arrange the metal in the correct position.
- Choose the right welding technique: Use the correct motion and speed for the position.
- Double-check your work: Inspect the weld to make sure it matches the code.
Employers respect workers who take time to check codes and follow the rules.
Where To Learn More About Welding Codes
If you want to learn more, read the AWS D1.1 Structural Welding Code or visit the AWS website. Many schools and training centers teach these codes. You can also find resources on Wikipedia for more background.
Frequently Asked Questions
What Does 3g Mean In Welding Position Codes?
3G means you weld a vertical groove. The workpieces stand upright, and the weld goes up or down between them. It is harder than flat or horizontal positions, and is common in structural work.
What Is The Difference Between 1f And 1g?
1F is a flat fillet weld—usually in a “T” or corner joint, welded from above.
1G is a flat groove weld—two plates are side by side and welded along the edge, also from above.
Why Is The 6g Welding Test Important?
The 6G test checks your skill to weld a pipe at a 45-degree angle, in all positions. It is the hardest basic test. Passing it shows you can handle most jobs, especially in pipe welding.
Can You Weld In A Harder Position If You Pass An Easier Test?
No. If you only pass an easy test (like 1G), you are not qualified for harder positions (like 3G or 4G). But if you pass a harder test, you can usually weld in the easier positions too.
Where Are Welding Position Codes Used?
You see these codes on blueprints, welding tests, inspection reports, and work instructions. They keep welding jobs clear and safe, and help workers know exactly what is needed.
—
Learning to read basic welding position codes is a key skill for anyone in welding, construction, or manufacturing. These codes help you work safely and pass important tests. With practice, you can read the codes quickly and avoid mistakes. This helps you do better work, get better jobs, and keep your projects strong and safe.
Keep learning, practice often, and always check your codes before you start to weld.