Disclosure: This post contains affiliate links and I will be compensated if you make a purchase after clicking through my links. Learn More
It’s pretty common to wonder if you can use a drill as a screwdriver since they operate in such a similar fashion, right?
It’s almost identical. No wonder why so many people would ask this question in home development and DIY forums.
The answer can be pretty simple, yet there are more details to it. There’s definitely more to talk about because ‘it depends’.
Let’s dive deeper into it and find out what’s actually going on.
Can You Use a Drill as a Screwdriver?
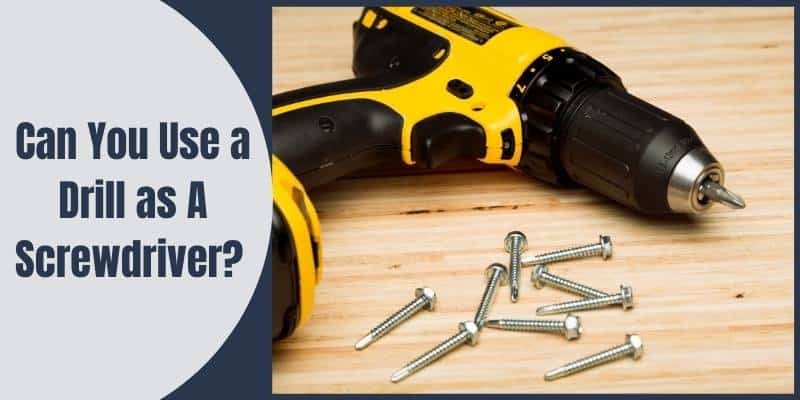
The short answer is, yes you can. But as I said, there’s more to it. Not every electrical drill is a good fit or can be used at all as a screwdriver. With an unfit tool, there are high chances you’d end up stripping the head of the screw and damaging the surface you were penetrating it into as well.
There are some drills that’ll work like a charm as screwdrivers, while you want to avoid some. And it’s not about their specific model or the manufacturer, it’s about their type of operation.
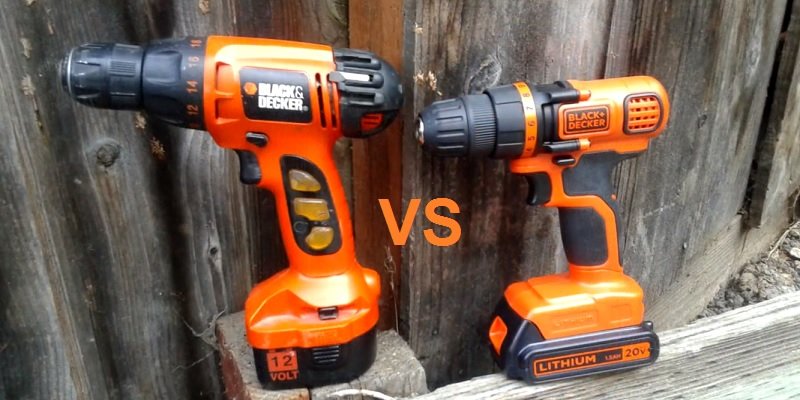
Can a Corded Drill Be Used as a Screwdriver?
A corded, powerful, heavy drill feels like an actual drill, one that literally rips through things, right? If such a tool is taken into consideration, you probably shouldn’t use it to drive screws.
The fact is that the majority of corded drills can’t be used to drive screws. A drill needs to have two particular characteristics in order to be used to drive screws:
Firstly, they need to have variable speed. Slower rates are required for driving screws since they demand less force than drilling holes. If a drill only runs at the speed that it needs to drill holes, that’ll be way too much for driving a screw. That’s a more delicate case than drilling a hole.
Secondly, and really important, if you’re considering using a corded drill as a screwdriver, make sure that it has a clutch function. You could refer to the user manual or to the manufacturer’s website to do so.
Without a clutch, the drill won’t be able to feel the tension and will keep spinning after driving the screw. This will shred the screw’s head, which will make it challenging to drive the screw farther or take it out of the wood. It’s really troublesome.
While many corded drills have variable speeds, clutches are typically absent since they’re designed to rip through materials without mercy, not to slow down. As a result, they do not really make good screwdrivers.
Can a Cordless Drill Be Used as a Screwdriver?
Unlike corded drills, cordless models can act like a screwdriver with a charm. In fact, so many cordless drills are designed in a way that they can act like a screwdriver if required—so it’s not really a hack.
Most of the corded drills found on the market have both a clutch and the option to vary speed, which are prerequisites for an automated screwdriver. Also, most of the cordless drills are not anywhere as powerful as corded models.
And that’s exactly what we’re looking for to use it as a screwdriver. For the job we’re looking to get done, less power would be better because we’re talking about delicate screws here.
So, to use your cordless drill as a screw, all you need is the right bit for your screw. Usually, screws require a Flathead (-) or Phillips (+) bit, but from time to time you’ll deal with screws having fancier bits like the t-star and so on.
It’ll be helpful if you own a range of bits, including the not-so-common ones to drive screws with your cordless drill. On a few occasions, when shopping for screws, you’ll find that some sets of screws come with a free bit. That’s a plus. Consider purchasing those, especially if you do not have the bit for that particular head.
You could also grab a drill bit extender to drive screws with your drill. They’re inexpensive but make driving screws much easier.
How To Use a Drill to Drive Screws?
Now, how do you actually drive screws with a drill that is primarily not designed to drive screws? Well, the process isn’t very difficult and it’s similar to driving one with an automatic screwdriver. Here’s your little guide:
1. Start by Picking the Right Screwdriver Bit
You want to ensure two things here—that you pick a head with the right shape for the concerned screw and also the size of the bit. A screw can have a flat blade, nut driver, Philips, or other-shaped head, and you want to choose accordingly.
The size is important too. Make sure your bit’s head fits perfectly into the groove of the screw’s head, because that way it’ll get the maximum firmness and leverage. If it’s too small, it’ll lack power and could damage itself and also the head of the screw.
A bigger one will not have enough space to sit properly and will protrude out of the head and may cause false spin. Same result.
2. Put the Bit Into the Chuck
The chuck is the groove in the front part of the drill that holds the bit. Firstly, loosen it with the key and remove any other bits that might have been placed there. Put your chosen bit into the groove. The hex end of the screwdriver bit or bit extender should go in there.
Tighten it firmly enough.
3. Set Things in Place
Now you want to start driving the screw but there are a few things to talk about.
First off, a pilot hole. If you’re not familiar with driving screws with automated tools like an automated screwdriver, you’ll want to make a pilot hole to help you out—especially if the surface seems tough to penetrate. You can use an appropriate handheld tool for doing so.
Next up, make sure you’re holding the drill firmly and that you’ve positioned things perfectly. Have you set the sharp end of the screw exactly where you wanted to?
Another thing people often miss is they don’t get a side-on view from a helper or by themselves. A top view is not enough to ensure that the screw will go in at the right angle. Many people end up driving the screw at a different angle than parallel to the ground (or a similar reference) and the screw head doesn’t sit perfectly, as a result ‘screwing’ things.
You want to have a side-on view to ensure that the screw is at a parallel position to the ground or a similar reference to avoid ‘screwing’ things.
One final thing, make sure the drill is set to rotate in the right direction, which is clockwise in this case. There’s a switch on the drill to toggle between clockwise and counter-clockwise.
4. ‘Screw’ it
Too many ‘screw’ jokes? Probably!
Now, anytime you feel confident, you can start pulling the trigger slowly to start the process. It is important that you go slowly at the beginning. When the screw is in by a decent length, you can speed up a bit.
However, we don’t recommend going crazy with it at any stage. And when you’re approaching the finishing stage, be extra careful.
If you’re screwing on something like an IKEA furniture piece, over-tightening could crack the board. So stop as soon as the screw is fully in place. If you’re not careful, even the clutch function might not save your furniture.
In the case of a wood surface, you could afford to go a little harder, especially if you wish to countersink it. You may keep screwing until the screw has sunk a little bit into the wood. That way it won’t stick out compared to the surrounding surface.
5. Removing a Screw
This is a straightforward process, and there’s not much to think about. Just ensure that the drill is set to rotate counter-clockwise and you’ll be good to go. With the right bit in place, set it on the screw head and start unscrewing.
One little detail, even though it’s pretty uncommon, some screws come with reverse thread which is also known as left-handed screws. As you can tell, you need to rotate those clockwise to loosen and counter-clockwise to tighten.
If there’s a way to check it, do so and act accordingly.
Can You Use a Hammer Drill to Drive Screws?
Hammer drills are heavy-duty tools and are primarily designed to drive screws into masonry. And to do that, it needs the hammer action because masonries are hard surfaces. However, that very action makes this tool pretty unsuited for other applications.
So, in normal circumstances, you’d be better off not using a hammer drill to drive screws. However, there are a few models out there that let you toggle the hammer action feature. If you get to disable that, you may use this to drive screws and that should be fine.
However, that only applies to medium and heavy-duty screw-driving jobs. There’s no way you should be using a hammer drill to drive comparatively delicate screws.
Do I Need to Own Both an Electric Drill and a Screwdriver?
Since you can use a cordless drill as a screwdriver, it’s common to wonder if you need to own both a drill and a driver. Now, there can be two contexts for this:
1. You don’t own any yet and you’re on the market to shop for any of these tools
2. You own a drill and are wondering if you need to purchase a screwdriver
In the first context, if you’re looking to only purchase one of these two tools, you should buy a drill/driver—the one that can do both. However, owning both would be ideal since electrical screwdrivers do offer some distinct benefits for the job.
They’re smaller and can be maneuvered in smaller spaces with more ease. They’re also less powerful, and that is more apt for driving a screw rather than trying to control an overpowered drill.
The same goes for the second context as well. If you own a drill or driver, you don’t absolutely need a dedicated electrical screwdriver, but owning one would help.